Build a Live Edge Table: Part 2
George Vondriska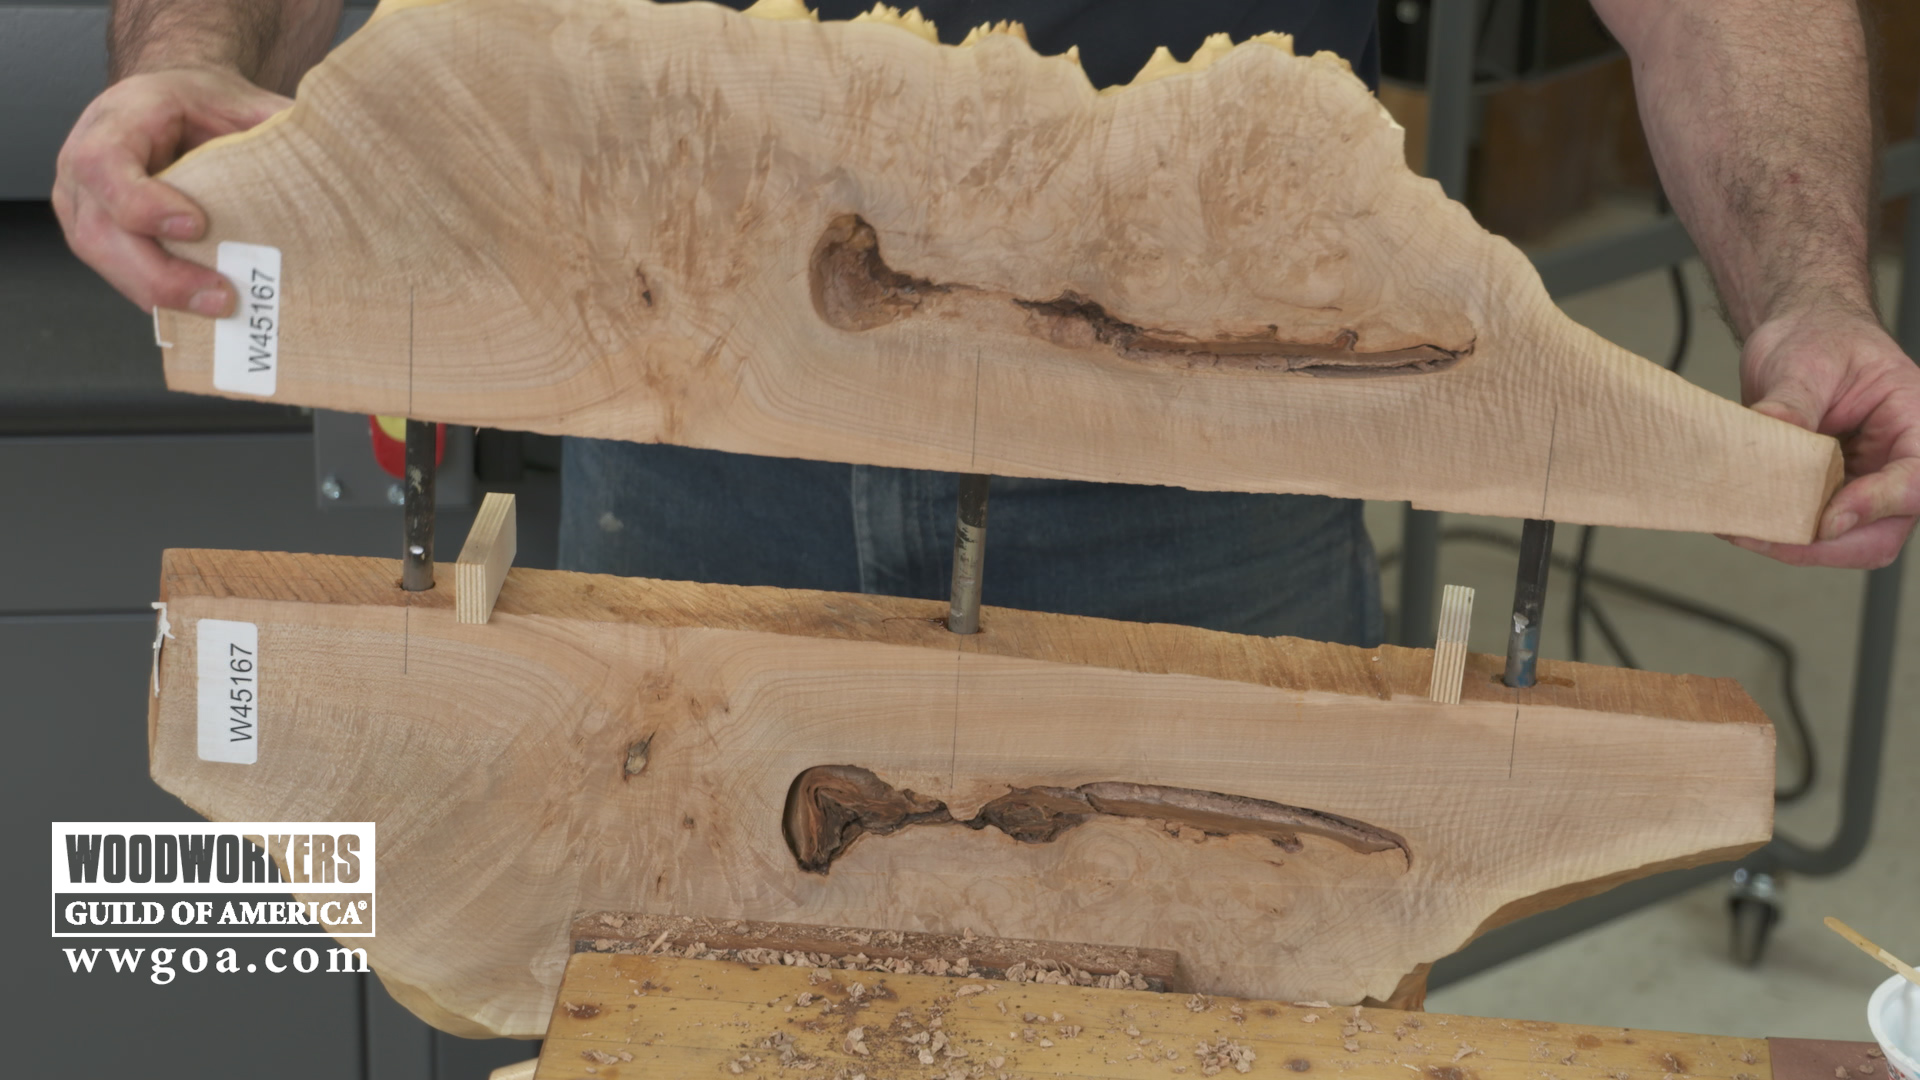
This is Part 2 of our three-part series on building a live edge table. In this installment we’ll look at bookmatching our pieces, design considerations when working with slabs, and getting the slabs joined using steel pins.
Beauty in the eye….
There’s no one right way to put projects like this together. Be ready to let your imagination flow, talk to others about their design ideas, look at other live edge tables. This is a great opportunity to be creative.
Joining parts
On this project we chose to not join the two slabs edge to edge. Instead, we used steel pins and left a space between the two parts. With the use of the steel pins, this was a perfect application for using a dowel jig.
Unique assembly
This project created an unusual assembly approach for us. Steel pins and oversized holes made epoxy the best glue choice, since it’s gap filling. You may have run into similar scenarios in your projects; trying to glue and clamp in unusual circumstances.
The other videos in this series are Build a Live Edge Table-Part 1 and Build a Live Edge Table-Part 3.
For more information
Live edge slabs: cookwoods.com
Furniture components, corbels, hair pin legs: osbornewood.com
Surface sanders and dust collection: supermaxtools.com