Build a Live Edge Table: Part 3
George Vondriska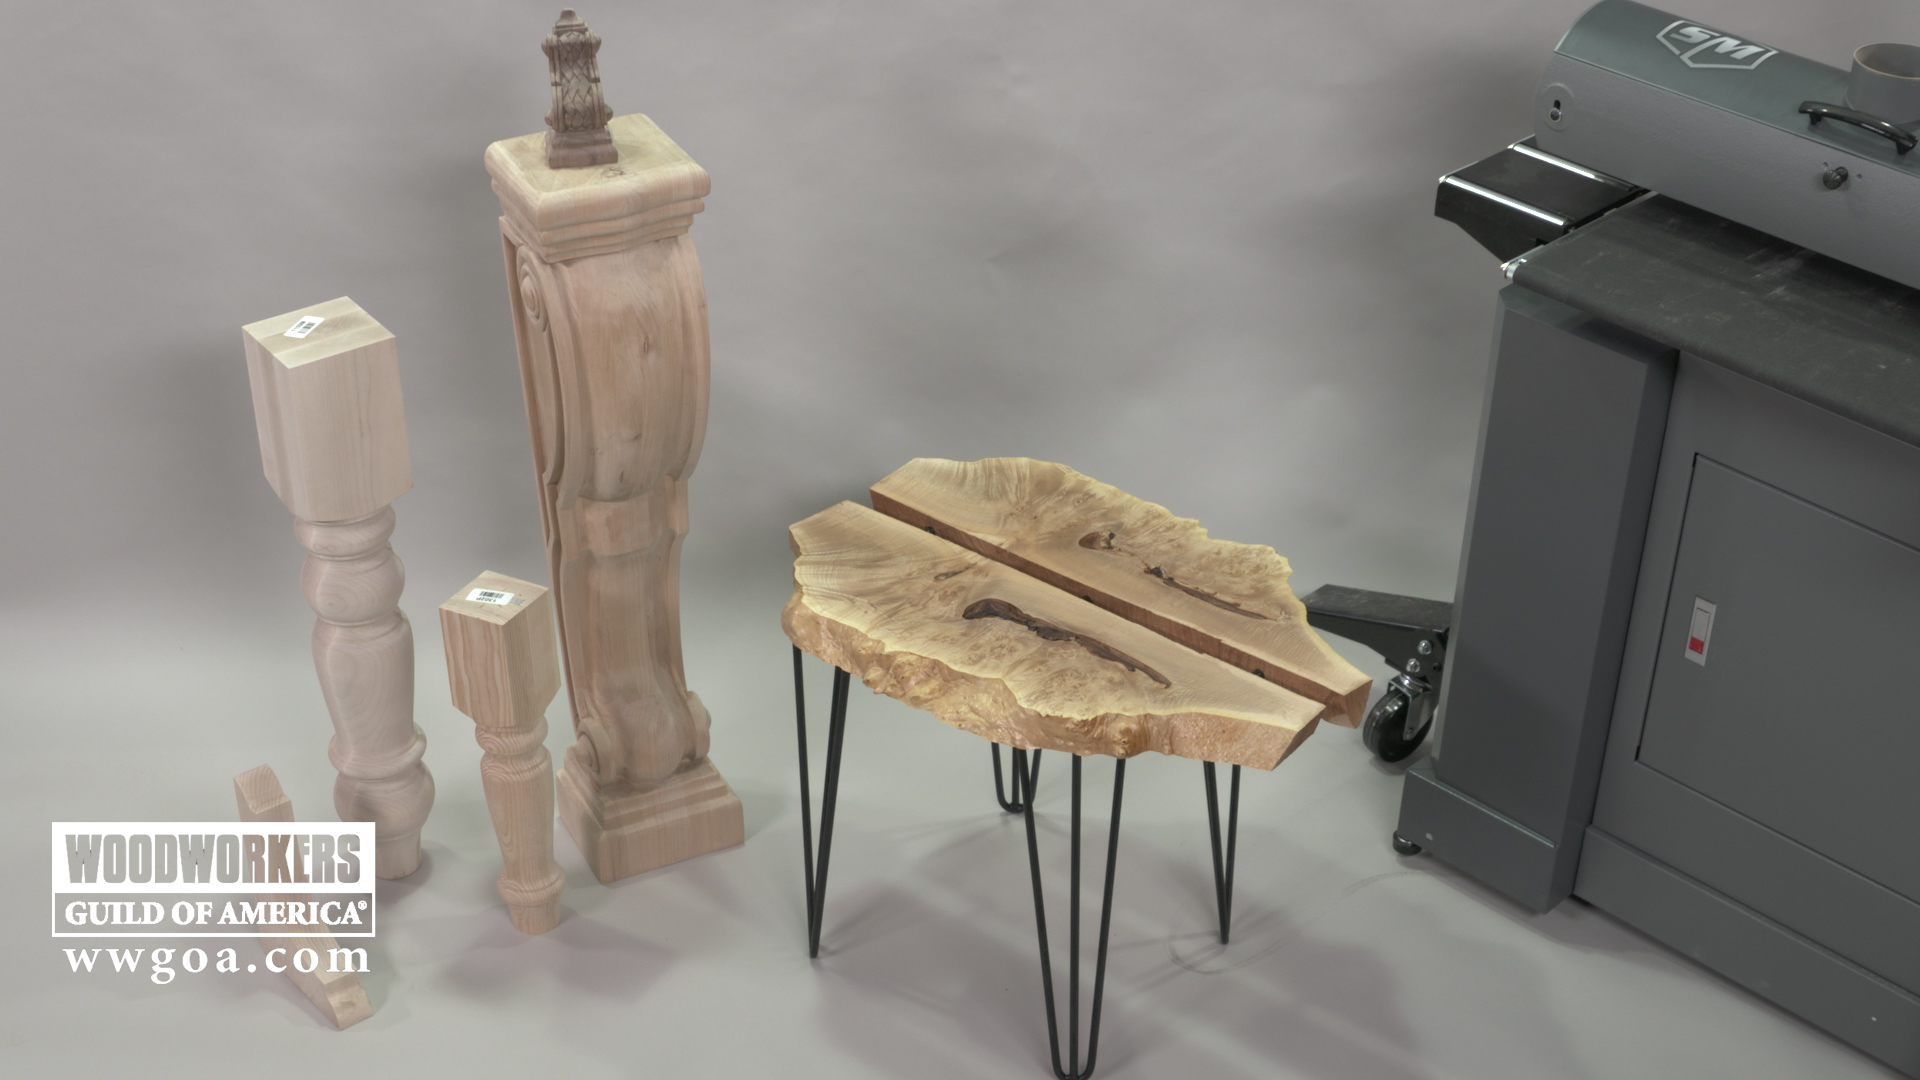
This is Part 3 in our three-part series on building a live edge table. In this installment we’ll flatten the slab, apply finish, and install our legs. The legs we chose are steel hairpin legs, which really complement the design.
Flattening
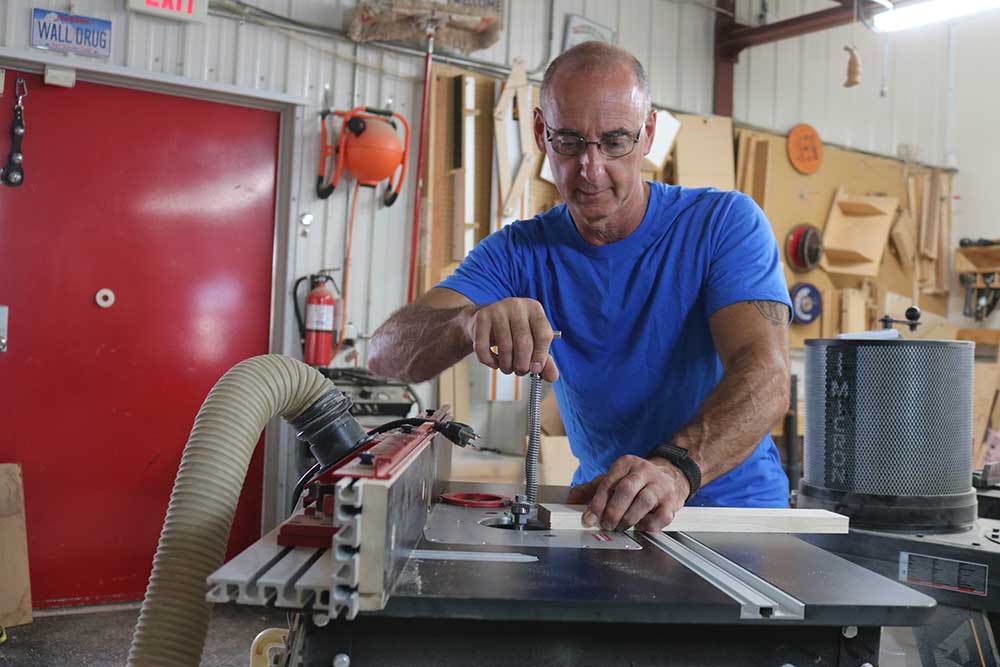
We’re working with a maple burl, which means the grain is going in many different directions. Even if we had a planer wide enough to accept this piece, my preference is to use a surface sander. This ensures that we don’t tear out the grain. Additionally, the sander is plenty wide to handle our material. When using a surface sander it’s very important for the sand paper to be correctly installed. Be sure you understand how to wrap sand paper on a surface sander.
Loose bark
Remember that we want to let the natural “defects” in the live edge material shine through. Our burl has bark inclusions that were a little bit loose. To make certain that they didn’t fall out, we used thin CA glue (cyanoacrylate), to stabilize the bark.
Adding legs
There are many, many options when you’re shopping for components to go with your live edge table, or live edge mantel, or any other piece you make from live edge material. Turned legs, steel legs, beautiful corbels — nearly any specie and any style you could want.
Previous videos in this series: Build a Live Edge Table-Part 1 and Build a Live Edge Table-Part 2.
For more information
Live edge slabs: cookwoods.com
Furniture components, corbels, hair pin legs: osbornewood.com
Surface sanders and dust collection: supermaxtools.com