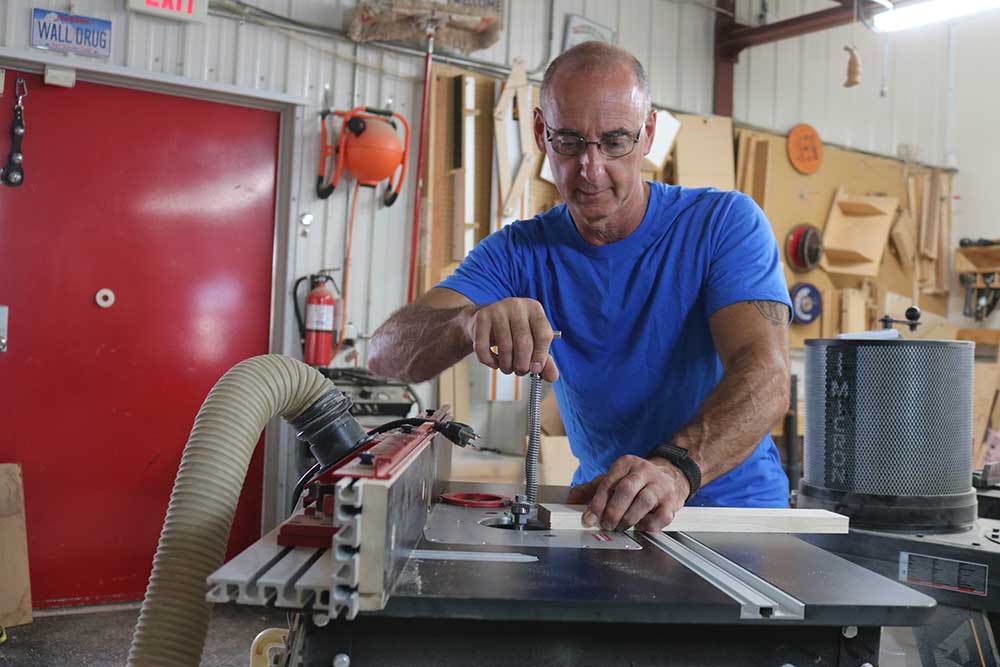
Casting Resin: Using a Pressure Pot
George VondriskaIt seems that the woodworking community has fallen in love with casting resin. It provides a great way to incorporate new colors and textures into our woodworking and woodturning projects. If you’ve ever had the pleasure of turning a project using a casting resin blank, for example, you have no doubt enjoyed the endless stream of fluffy ribbons that are produced from this process.
Casting resin is pretty simple to work with, and you can achieve good results using the manufacturer’s instructions for mixing, adding color, and curing. One challenge that most people encounter when they first get involved, however, is the annoying presence of bubbles in their projects. Casting resin is known for capturing bubbles, which is a neat effect if you are going for it, but most of the time you would want clear, bubble-free resin.
Bubble-free casting resin isn’t difficult to achieve, but it requires some investment in equipment as well as the right process:
Pressure pot. If you are going to work with this kind of resin, you will want to invest in a pressure pot. The way a pressure pot works to clarify casting resin is to pressurize the bubbles so that they are so small that the human eye cannot see them.
Apply pressure. After the resin blank has been carefully placed inside the pressure pot, you will carefully turn up the pressure until you achieve the desired pressure point as George demonstrates in the video.
Allow to remain under pressure. Leave the blank under pressure for a period of time as George recommends. This will ensure that the bubbles remain invisible.
After removing from the pressure pot, the blank will still require some curing time, but the additional curing can occur without pressure. Let the blank cure for the manufacturer’s recommended time before using it in a project.