Cutting Long Quilt Borders
Heather Thomas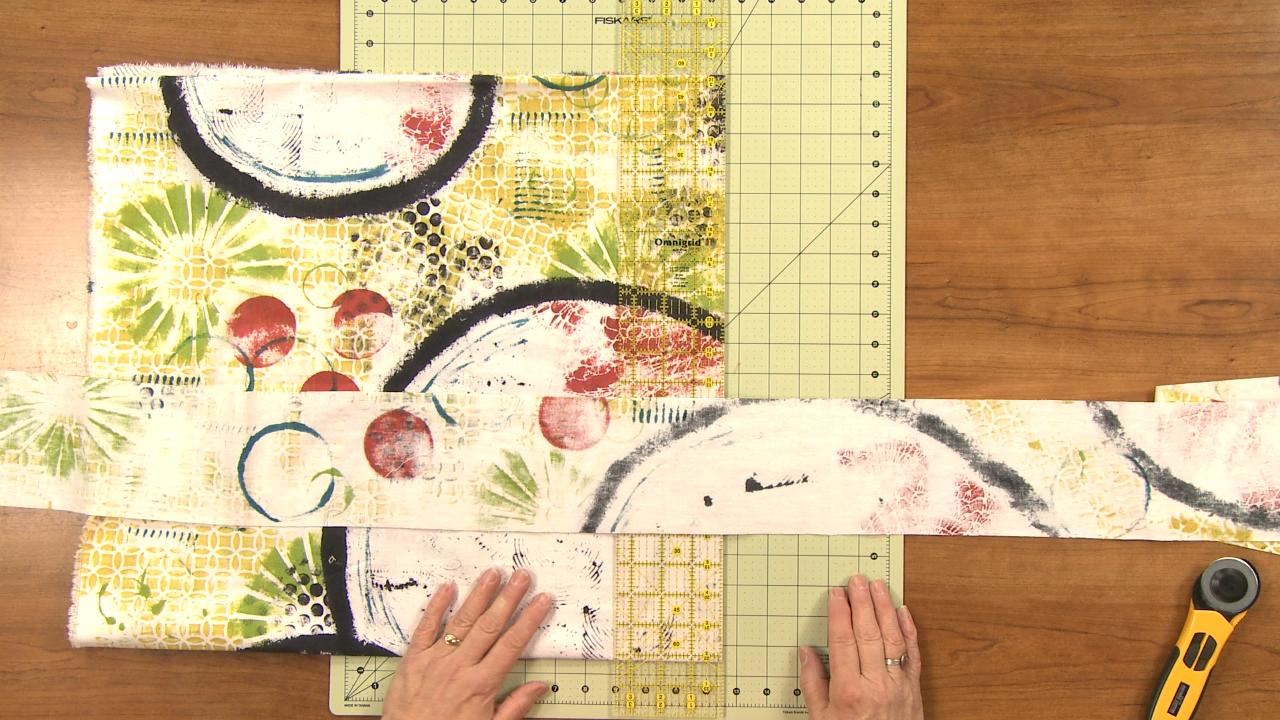
Cutting long quilt borders that are perfectly straight can be difficult. Heather Thomas shows you her technique for folding and cutting borders that come out perfect every time with no waves, ‘elbows’ or any other issues.
Folding and Cutting
The first step in cutting long quilt borders is folding your fabric down to a manageable size that will fit on your cutting mat. While this may seem simple, there are several steps that need to be taken to ensure that the fabric is on the straight of grain and as flat as possible. Heather explains how she gets the fabric on the straight of grain by ripping two edges. Once the edges have been ripped and pressed if necessary, she aligns them and works at smoothing out the fabric to a fold. She explains that when cutting long quilt borders it is important to always do this step and refold the fabric rather than use the fold already in the fabric as it is not usually on grain.
Heather then shows how to fold and align the fabric further to get it to fit on her cutting mat. She also shares a fun tip on how to use a long ruler to make sure the fabric has a crisp fold and is as flat as possible. Heather then trues up an edge and explains how the fabric is now ready to be used to cut long borders. She then talks about the different ways the fabric can be positioned when cutting the borders depending on whether you like to cut based off of the marks of the ruler or the marks of the cutting mat. She then cuts a long border and unfolds the fabric to show that it is straight with now waves, elbows or other issues.