
French Seam Sewing Tips for Your Next Project
Ashley Hough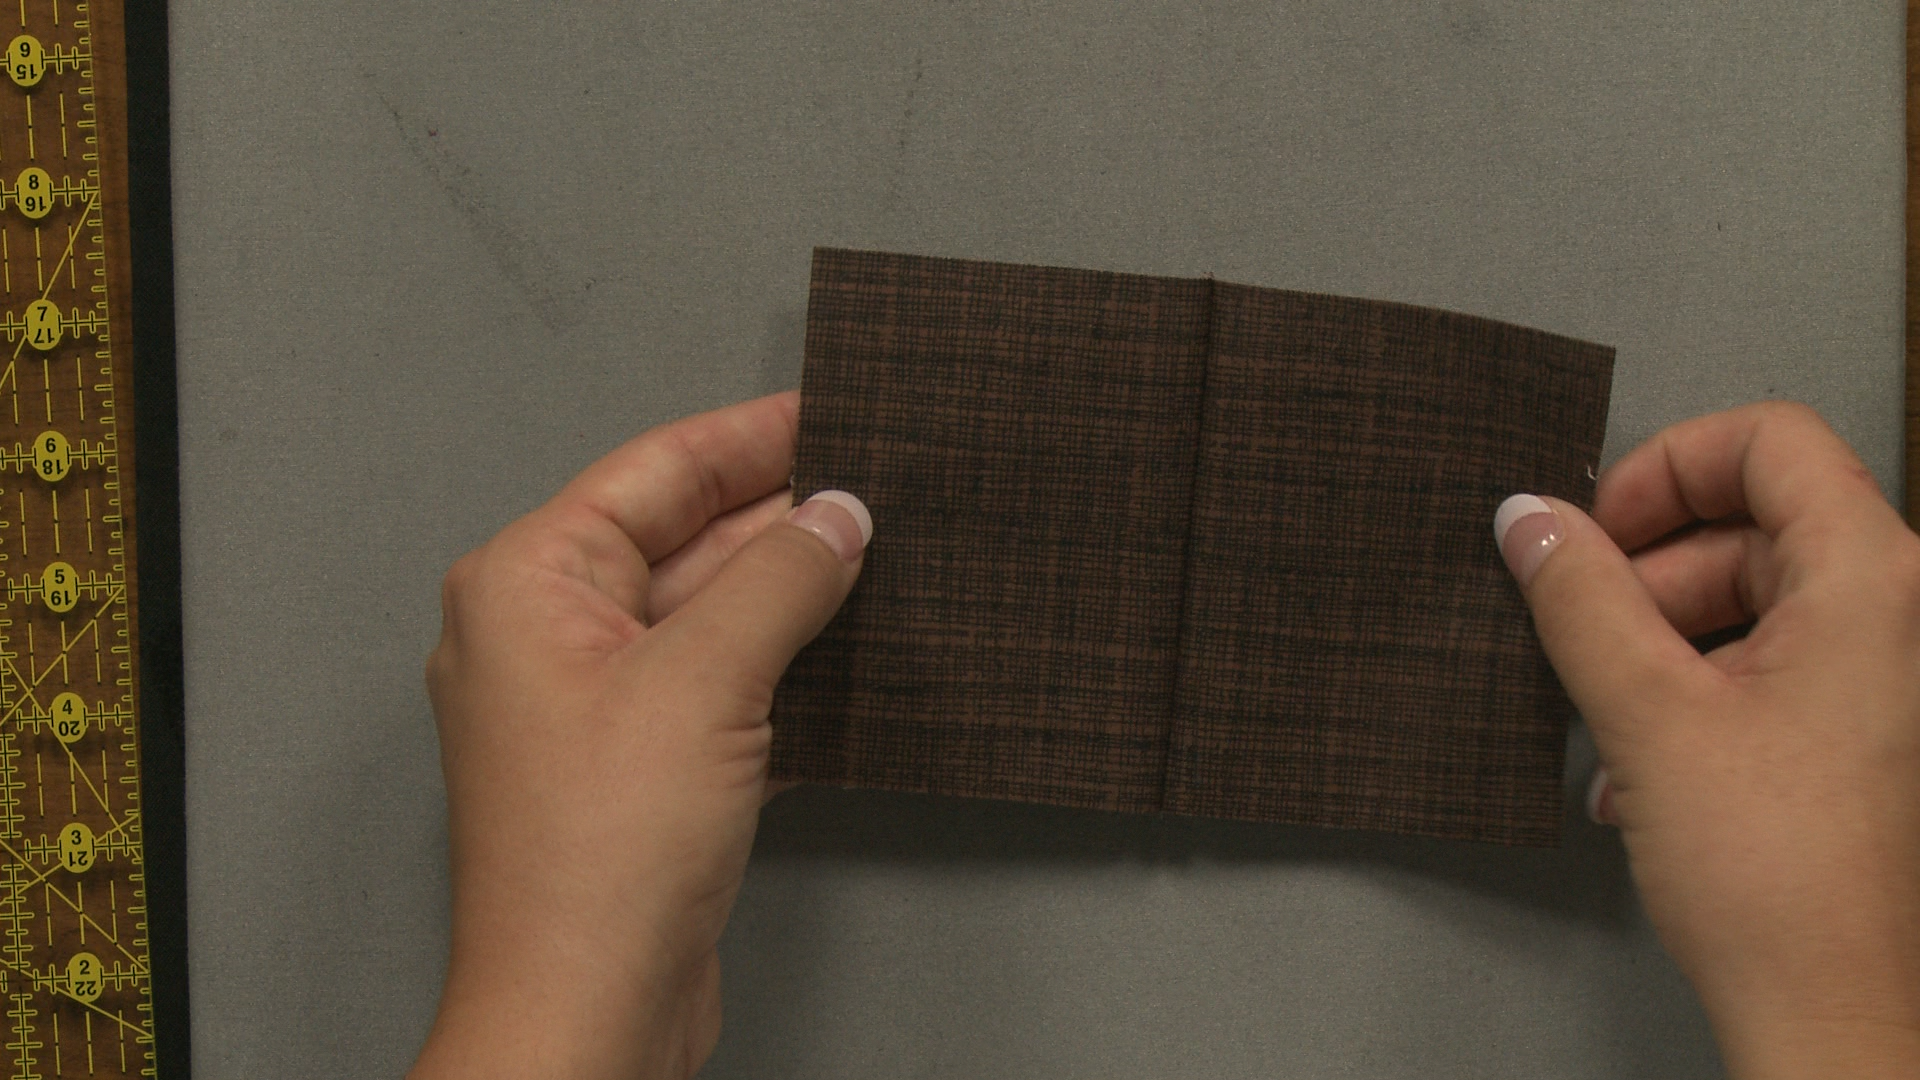
When constructing garments, it is important to finish seams so that the inside of a project looks just as professional as the outside. Ashley Hough demonstrates how you can achieve a professional look with French seams.
French Seam
When learning how to sew a French seam, one of the hardest things to remember is that you need to start with the fabric wrong sides together. This is counterintuitive to what you may have learned in general sewing practices, and Ashley explains why it is necessary. It is also something that can be tricky if the right and wrong sides of your fabric look similar, so you may way to mark the right side of the fabric prior to starting.
Seam Allowances
When constructing a garment, especially one from a commercial pattern, you will be using a ⅝” seam allowance. A French seam is completed by running two separate lines of stitching at different seam allowances that add up to ⅝”. Ashley shows how to sew a French seam starting with a ¼” seam allowance followed by a ⅜” seam allowance. A French seam can also be done in the reverse, starting with the ⅜” seam allowance and then finishing with the ¼” seam allowance. Both will look the same on the right side of the garment. However, on the wrong side one will have a slightly larger enclosed seam.
Other Options
While French seams are a popular choice for stitching enclosed seams when constructing a garment, there are other options as well. Many of these methods require you to finish the seam after construction, like bias bound seams. And some may even have a different look on the right side of the fabric, like flat felled seams which have an extra line of stitching. All methods of enclosed seams will ensure a professional finish to your next project.