Horseshoe Cable Stitch Pattern
Corrina FergusonThe horseshoe cable is a beautiful cable pattern that can be worked two different ways. Which one you choose to work will depend on the direction of your knitting project (bottom up, or top down). In this video, Corrina Ferguson explains how to work this stitch pattern.
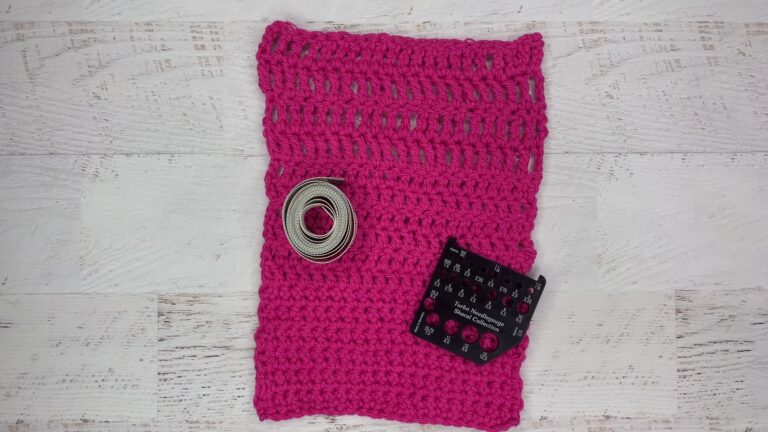
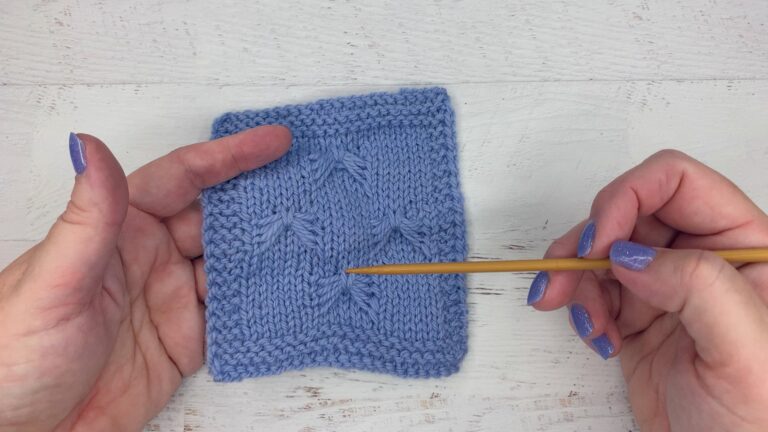
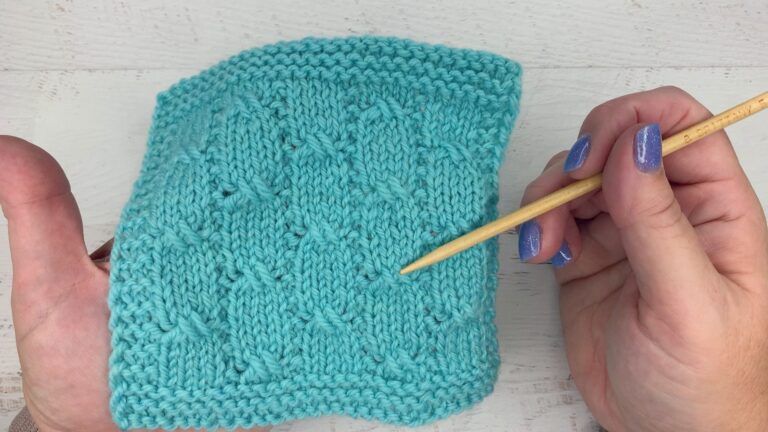
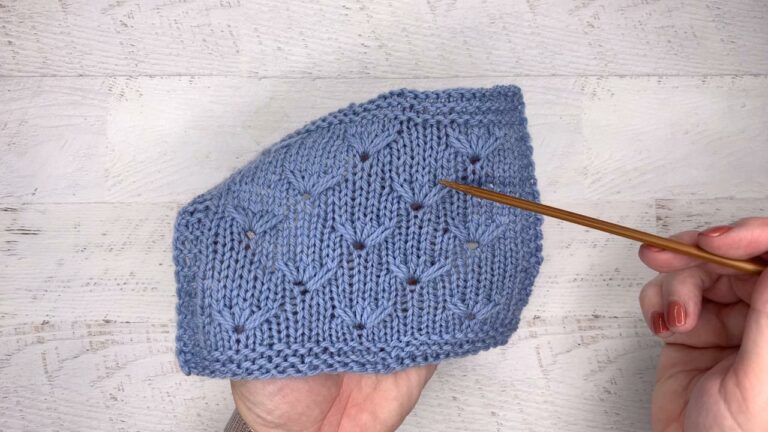
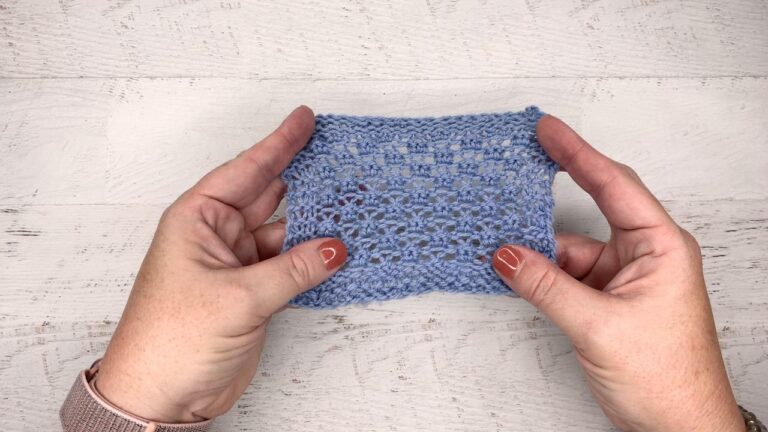
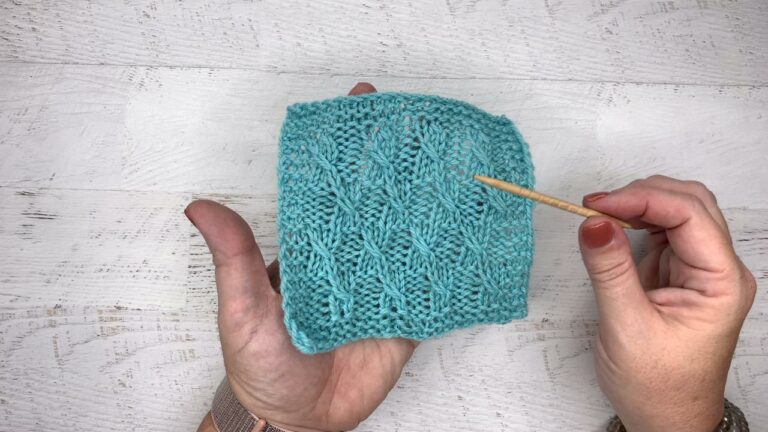
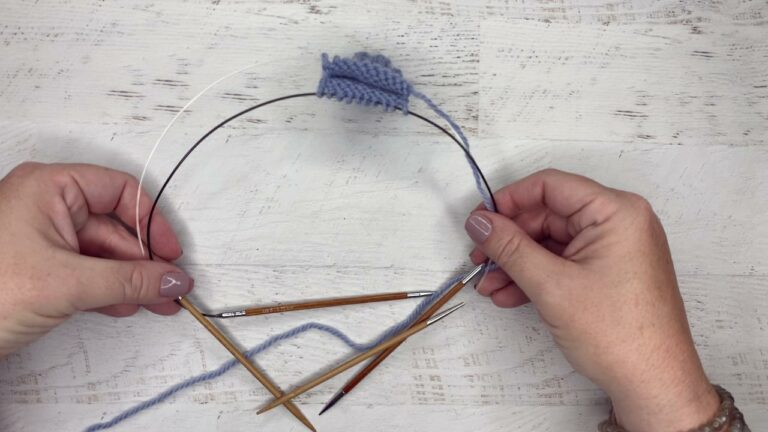
Simple 4-stitch cables are used to create this pattern. Corrina shows a swatch with the two versions of the horseshoe cable, one looking like the owl cable pattern, and one that looks more like a horseshoe. By reversing the order of the cables, either one can easily be created. Corrina works a swatch of the horseshoe cable, which is the cable on the right of her finished swatch. She demonstrates how to work the cables both with and without a cable needle.
The four-stitch cables used in this stitch pattern are the C4F (cable 4 front) and C4B (cable 4 back).
- C4F: Cable 4 Front. Slip 2 stitches purlwise to cable needle, hold in front. Knit 2 stitches, knit 2 stitches from cable needle.
- C4B: Cable 4 Back. Slip 2 stitches purlwise to cable needle, hold in back. Knit 2 stitches, knit 2 stitches from cable needle.
The horseshoe cable stitch pattern is worked over 8 stitches. You’ll commonly see Reverse Stockinette stitch (purl on Right Side/knit on Wrong Side) used with cable patterns to allow the cables to pop off the fabric. If working the cable pattern over 12 stitches, with 2 stitches of Reverse Stockinette stitch on each side of the cable, follow these instructions:
Row 1 (RS): P2, C4F, C4B, p2.
Row 2 (WS): K2, p8, k2.
Row 3: P2, k8, p2.
Rows 4 – 5: Repeat Rows 2 – 3.
Row 6: Repeat Row 2.
Repeat Rows 1 – 6 for pattern.
ABBREVIATIONS
K: knit
P: purl
RS: Right Side
WS: Wrong Side