
How to Cut Angles on a Table Saw Using a Taper Guide for Accuracy
George Vondriska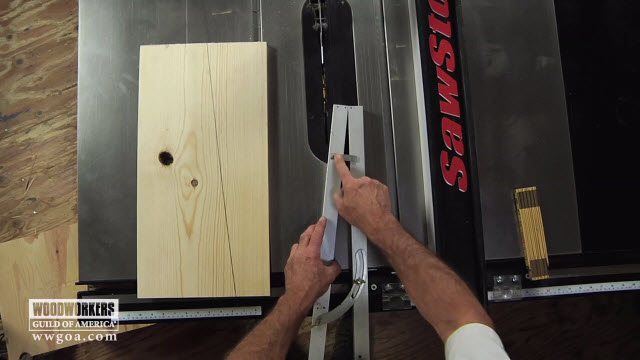
Have you wondered how to cut angles on a table saw? There’s a jig for that! A taper guide may look tricky to set up, but with the technique shown here, setup is not difficult, and the resulting cut quality is impressive.
What’s a Taper Guide?
The taper guide shown in this video has two legs that adjust to the exact angle you need to cut. Most models have a degree mark on one leg, but translating the line you need to cut to the degrees on the taper guide can be vexing. Instead, check out our technique which has you simply measure, adjust and measure again until everything lines up. It can take a little patience, but it certainly isn’t difficult and once you know how to cut angles on a table saw, you’ll be able to take on more complex woodworking projects.
Let’s Get Set Up
Once the taper jig is adjusted properly, it’s time to locate the fence. With the blade up, you’ll position the taper guide against the fence and the board against the taper guide. The taper guide and the board travel together as you make the cut.
Make the Angled Cut
When everything is set, you’ll start the table saw and make the perfect angled cut. The cut quality made using the table saw and taper guide can’t be beaten and will enhance your woodworking projects.