Marking Half Square Triangles
Ashley Hough
Half square triangles are common units in many quilt designs. Learn what is best to use to mark them and how to accurately mark them so that they come out the correct finished size. Ashley Hough shows you how.
Half Square Triangles:
How are half square triangles made?
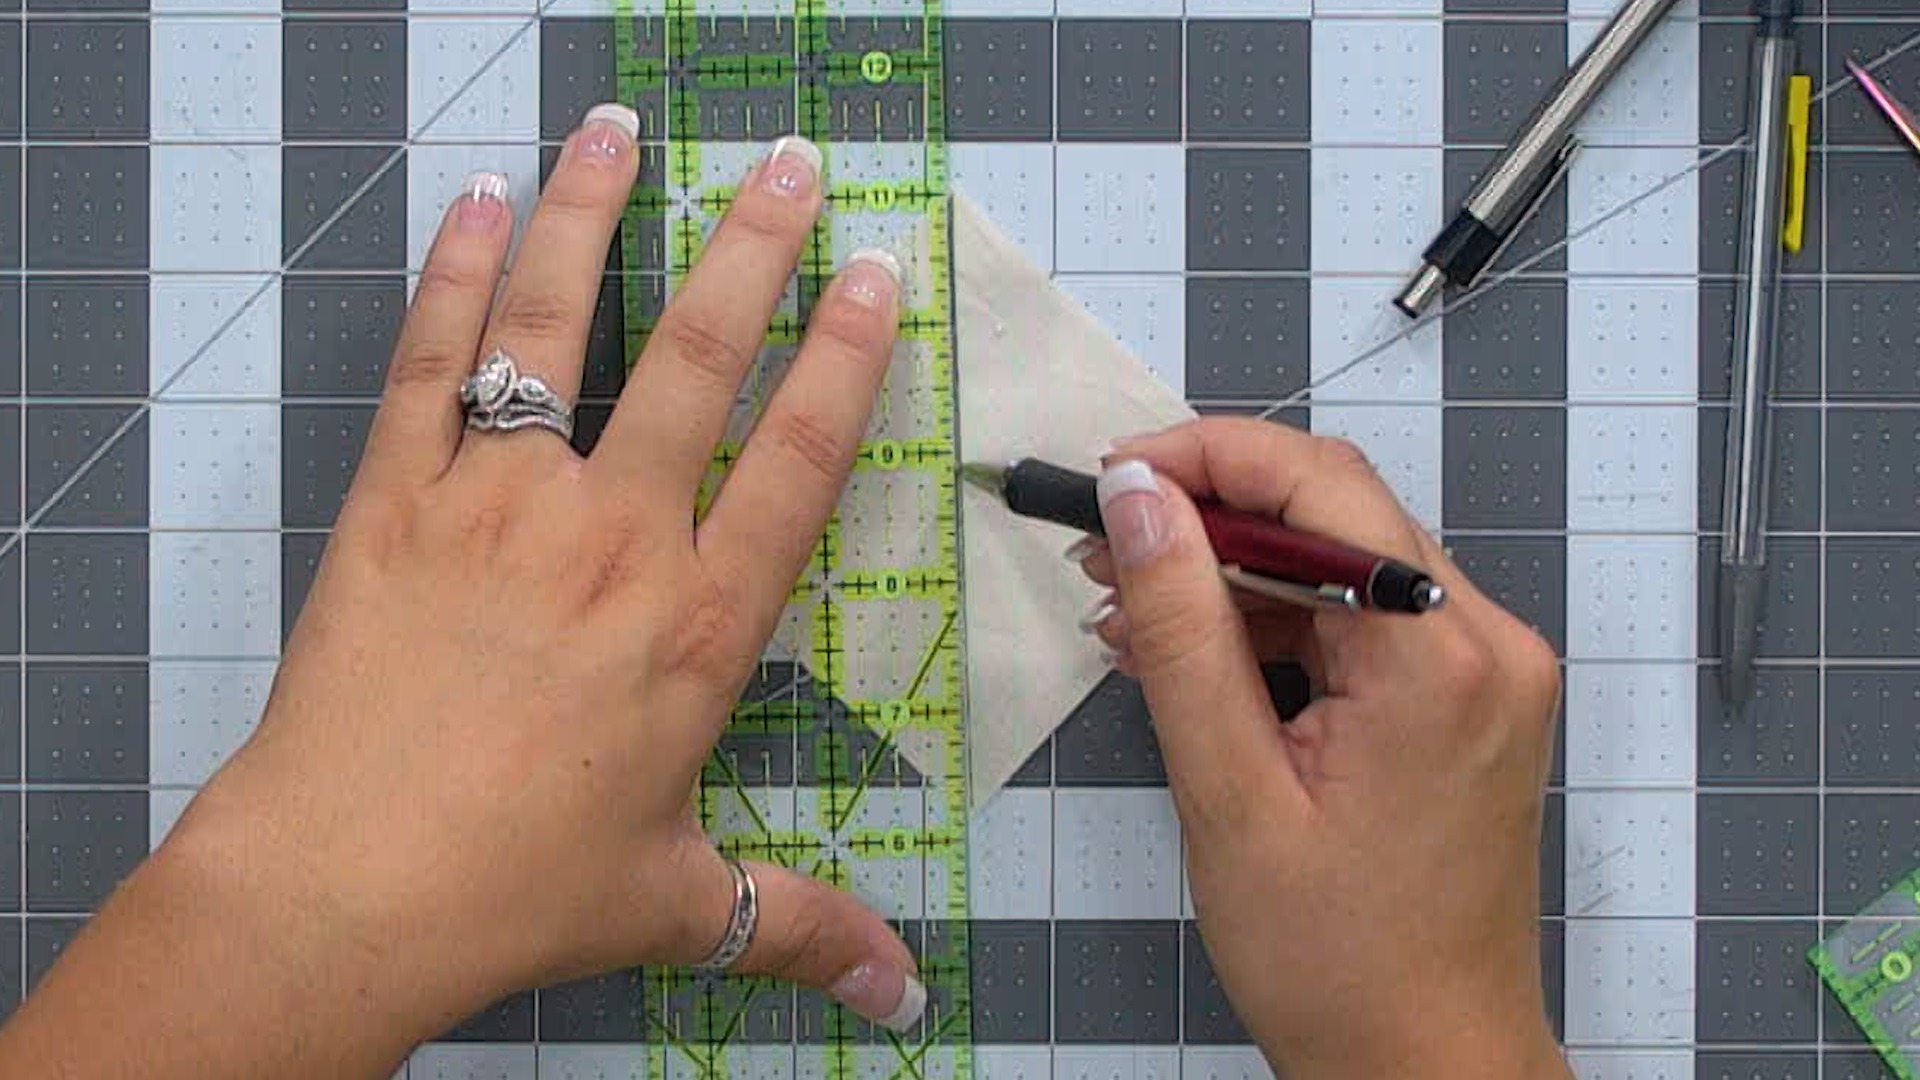
Before you can begin making half square triangles, it is important to know what they are and how they are made. First, understand a half square vs quarter square triangle. Next, when making half square triangles, there are several different methods that can be used. The method shown in this tutorial begins with a diagonal line being drawn on the wrong side of one square of fabric. That square of fabric is then placed right sides together with another square of the same size. You will stitch ¼” on both sides of that line, and then cut apart the two units to make two half square triangles.
How to mark half square triangles
Ashley explains why marking when making half square triangles is very important, because if you are off on the line that you draw, one of your pair of half square triangles will be too big and one will be too small. Ashley talks about some of the different marking tools that are available, including different pens and pencils and talks about why some are better than others. She explains that you want a marking utensil that easily glides along the fabric, as opposed to scratching it, so that you get a nice, consistent line that doesn’t distort the fabric.
Ashley also talks about ruler placement on the square when marking half square triangles, and why, depending on the width of the pen or pencil being used, the ruler might need to be placed in a different spot.