
Tips for Making Covered Buttons
ZJ Humbach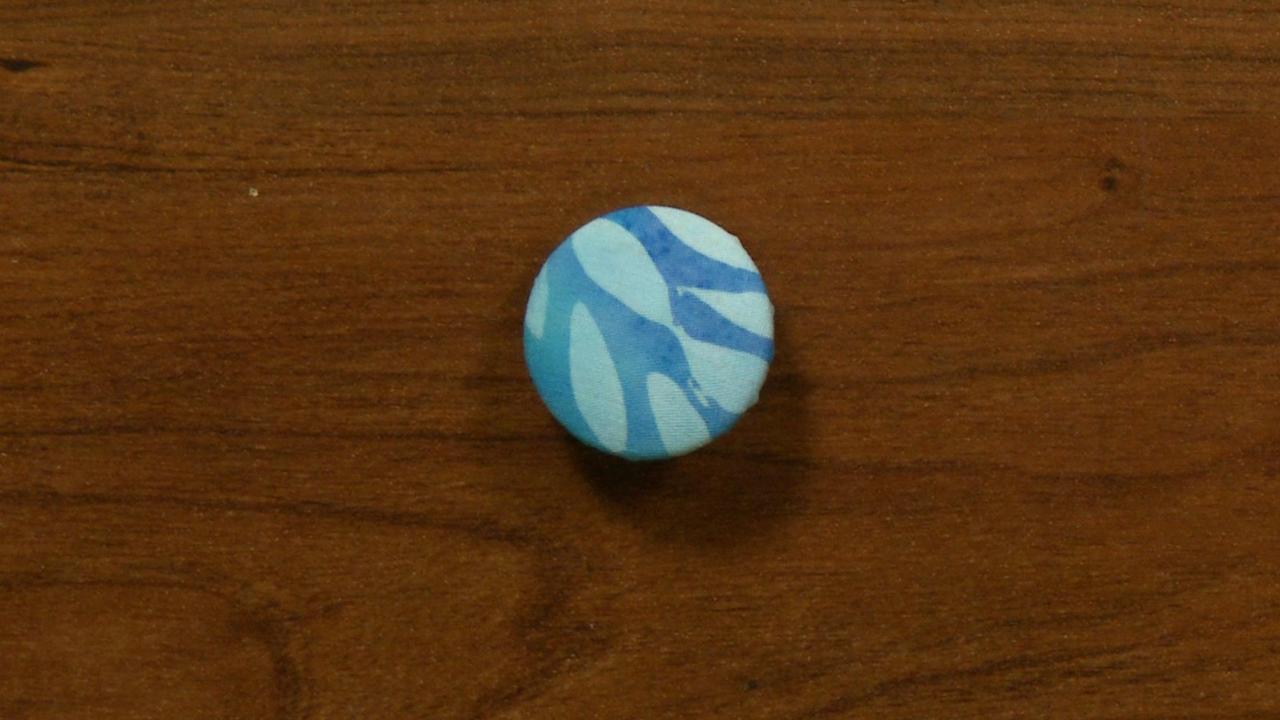
Making covered buttons is a fun, easy way to give your next project that thoughtful, professional touch. In this video, ZJ Humbach demonstrates how to make perfect covered buttons every time.
Preparation
When making covered buttons, you will need to get a covered button kit, which can be found at nearly any fabric or craft store. The kits for making covered buttons come in a variety of sizes. Which one you choose will depend on how you intend to use the button. ZJ shows the kit she has, which includes a button front that will be covered with fabric and a button back that holds the fabric in place. The kit also comes with a circle template that shows you how big your fabric circle will need to be to cover your button. All fabric button kits make shank buttons as opposed to flat buttons with two or four holes.
Covering the Button
Once you have your circle of fabric cut, you can wrap it around the button front. ZJ shows how this is done a little at a time, using the small teeth on the wrong side of the button front to hold the fabric in place. She explains how the ease of this process can vary depending on the type of fabric you are using. Once the fabric has been folded around the button front, the back can be placed on to secure the fabric. ZJ demonstrates this, sharing some tips on how to get a smooth edge on the fabric button by using a basting stitch. Finally, she provides a few fun ideas on how to personalize and add flair to your covered buttons.