
Varnishing an Oil Painting
Katie Liddiard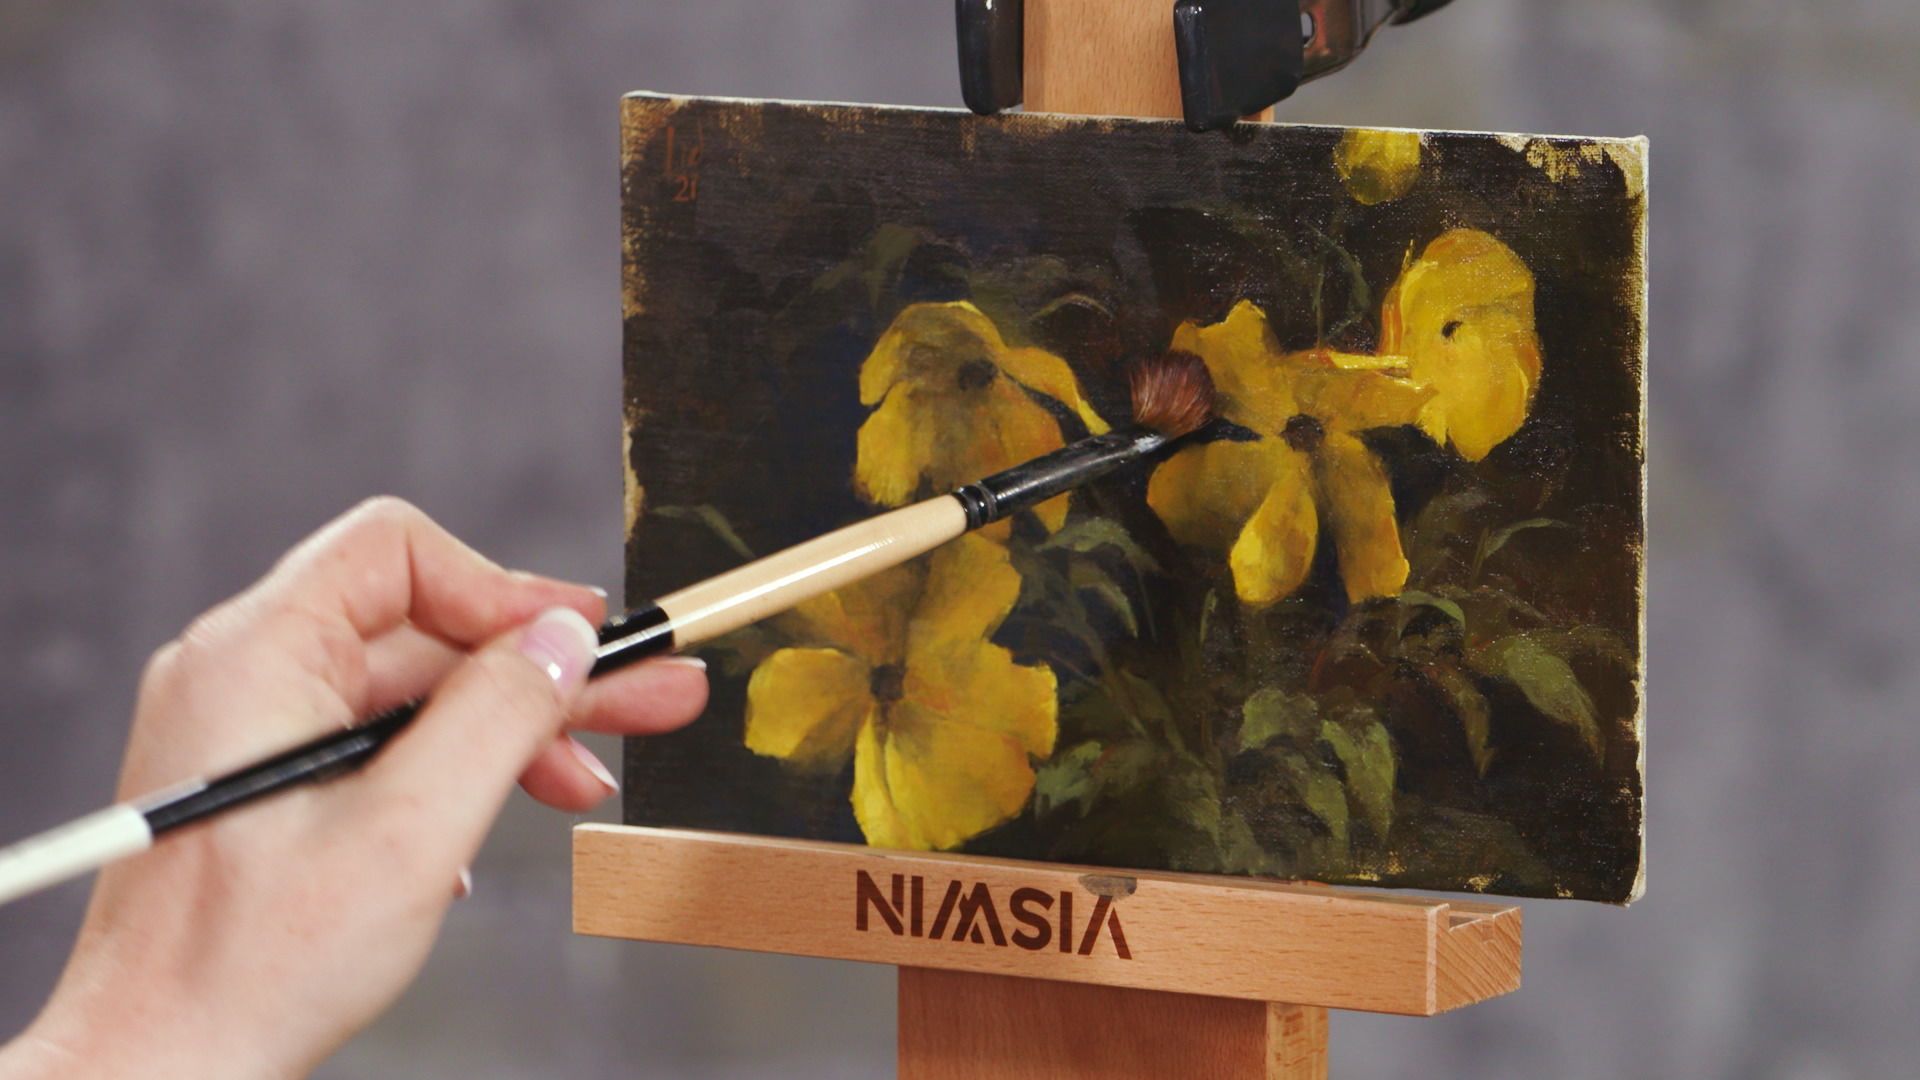
"You've completed a beautiful, carefully rendered oil painting that you're proud of — congratulations! Now there's just one final and essential step, and that's varnishing the painting for a last layer of protection after it's completely dry. Artist Katie Liddiard demonstrates this easy process that you won't want to skip. First, Katie says, choose a soft medium-size brush (you can use an old one that you keep for varnishing) and have the varnish you've chosen in a container you can dip into easily (Katie uses Gamblin Gamvar, an odorless varnish for acrylics or oils which has a semi-gloss finish). Wipe off excess varnish from your brush and get started scrubbing the painting with the brush, covering the surface completely.
You'll see immediately how the varnish brings up the color in your painting and makes it richer and more vibrant, bringing the entire painting to life. The varnish keeps this richness visible and prevents the dullness that you'll see in unvarnished works. Keep the layer of varnish thin and move the brush around so you don't get obvious brushstrokes. This thin layer will protect your painting from dust and nicks, while keeping the brilliance that makes your painting truly complete. Be sure to let the painting dry (overnight if possible) and you're all set. Your oil painting is ready to delight viewers' eyes for years to come.
"