
Quick Tips for Preventing Seam Puckering
ZJ Humbach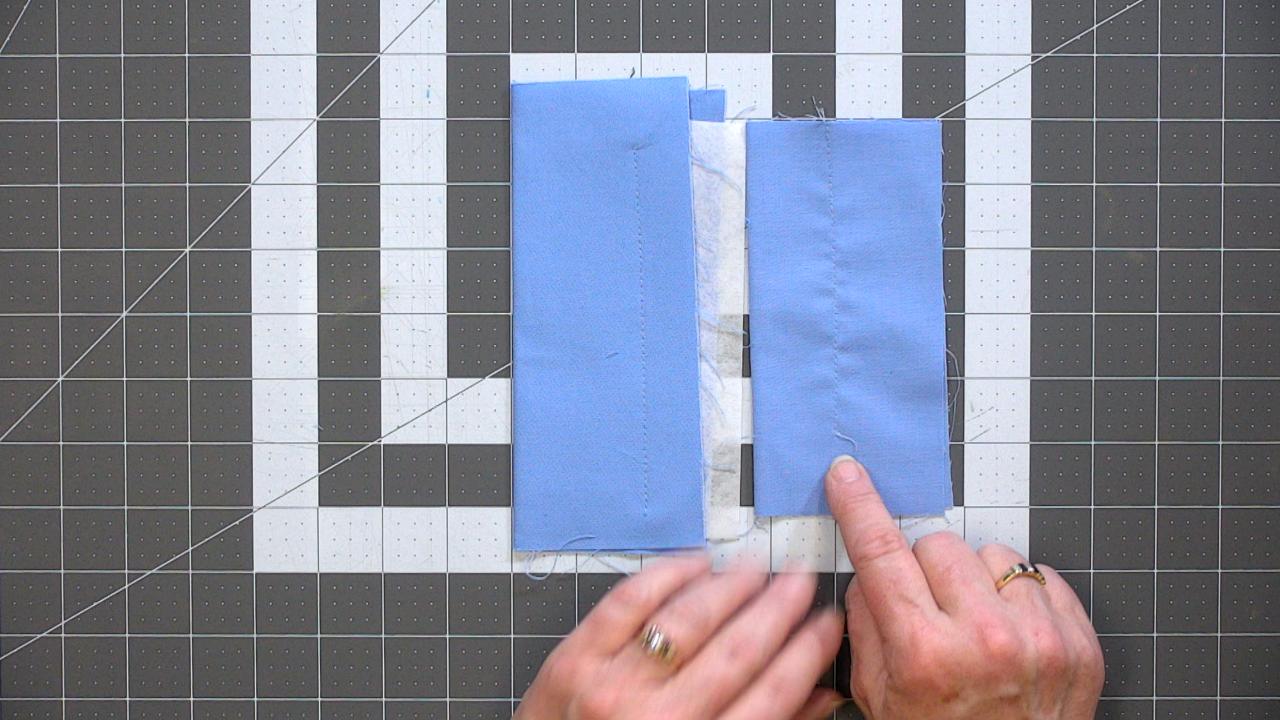
Puckering seams and stitching lines can make a garment or other sewing project look unprofessional. ZJ Humbach gives you several tips and advice on how to keep seam puckering to a minimum.
Quick Tips to Prevent Seam Puckering
Test Before you Sew your Project
The first recommendation that ZJ has to keep seam puckering from happening is always testing your stitching first. She explains that it is always a good idea to have a small test sample of the exact combination of what you will be stitching, with the same amount of fabric layers, interfacing if used, thread, and needle types. This way you are able to see what your stitching is going to look like on your project before you stitch it.
Loosen the Needle Tension
If you have seam puckering, ZJ offers several possible solutions. The first thing that can cause seam puckering is tension. ZJ recommends loosening the needle tension on your machine and trying the line of stitching on your test sample again. It is always a good idea to retest the stitching after every adjustment made, so you know what fixed the issue.
Needle/Thread Type
If the tension is not what is causing the seam puckering, another cause could be the needle being used is too dull or not the right type, the thread being used is not the right type for the fabric being stitched, or that you are simply stitching too fast.
Lengthening the Stitch Length
Another tip that ZJ shares that can help seams look better and lay flatter are to slightly lengthen the stitch length.
Stablilize the Seam
If all of these solutions are still not fixing your seam puckering problem, another solution is to stabilize the seam before you stitch. This can be done with a variety of different products, and the method you choose to use will depend on the project being sewn and the fabric being used.