Working a Slip, Slip, Purl (ssp) Stitch
Jen Lucas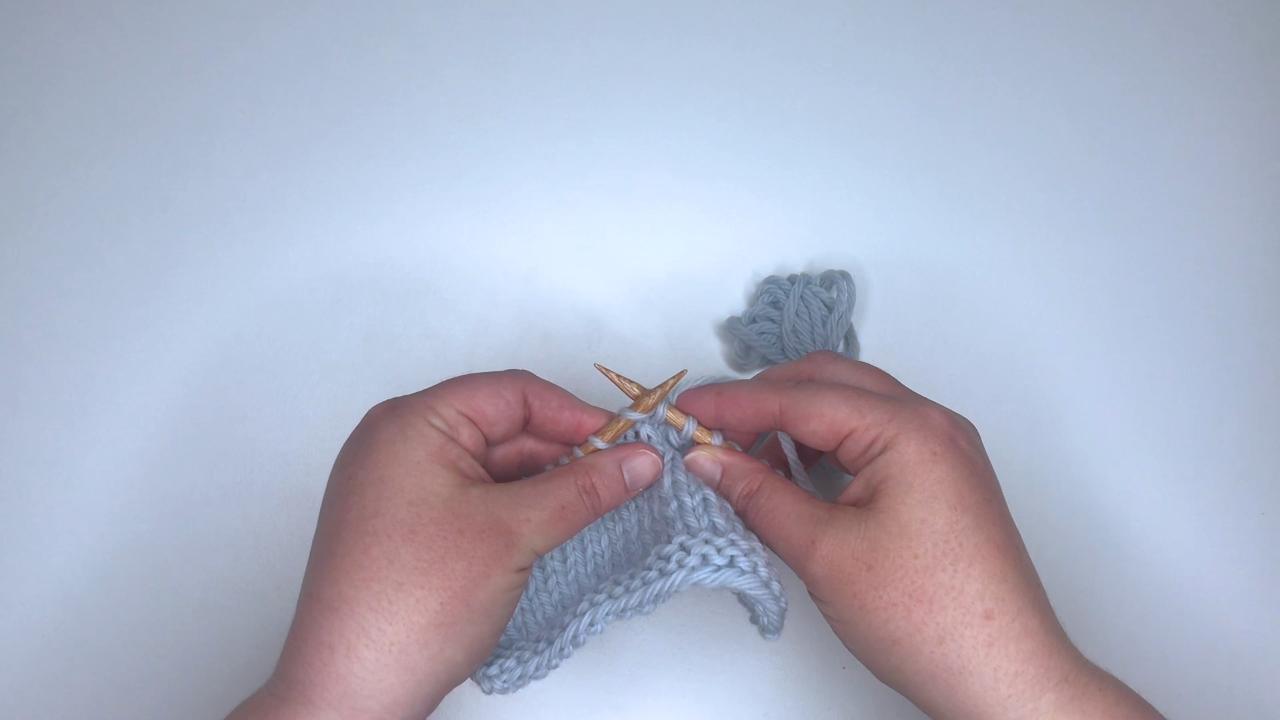
Once you’ve mastered the knit stitch and purl stitch, you can explore other stitches that will help you in creating a wide variety of knitting projects. Most commonly, knitwise decreases are used to shape fabric; however, occasionally a pattern contains a purlwise decrease. In this video, knitting expert Jen Lucas shows you how to work one of these decreases, the slip, slip, purl (ssp) decrease.
Slip, Slip, Purl (SSP)
This decrease is commonly worked on the wrong side of your work, where you would be working the purl stitch. That’s not always the case though; sometimes you’ll use it on the right side of your work if you are purling stitches on the right side. You might also find ssp decreases used in many different decorative stitch patterns. In the video, Jen shows the slip, slip, purl when worked on the wrong side of the fabric in stockinette stitch.
When looking at the ssp decrease on the purl side, or wrong side, of the fabric, it’s not that easy to identify where the decrease is placed, as it blends in with the other purl stitches. When you look at the fabric from the knit side, or right side, you can easily see where the decreases are placed. The ssp stitch leans to the left when you are looking at it from the right side of the fabric in the example in the video.
Work the slip, slip, purl using these steps:
- Slip a stitch from the left needle as if to knit to the right needle
- Slip a second stitch from the left needle as if to knit to the right needle
- Slip both stitches back to the left needle and purl the two stitches together through the back loops
The slip, slip, purl creates one stitch where there were two, making it a single decrease. It’s often paired with the purl two together (p2tog) decrease since that decrease leans in the opposite direction. Using these two decreases together creates mirror image decreases, which makes your knitting look very polished.