MS
Choosing And Using a Measuring Tool
Mackenzie Swenson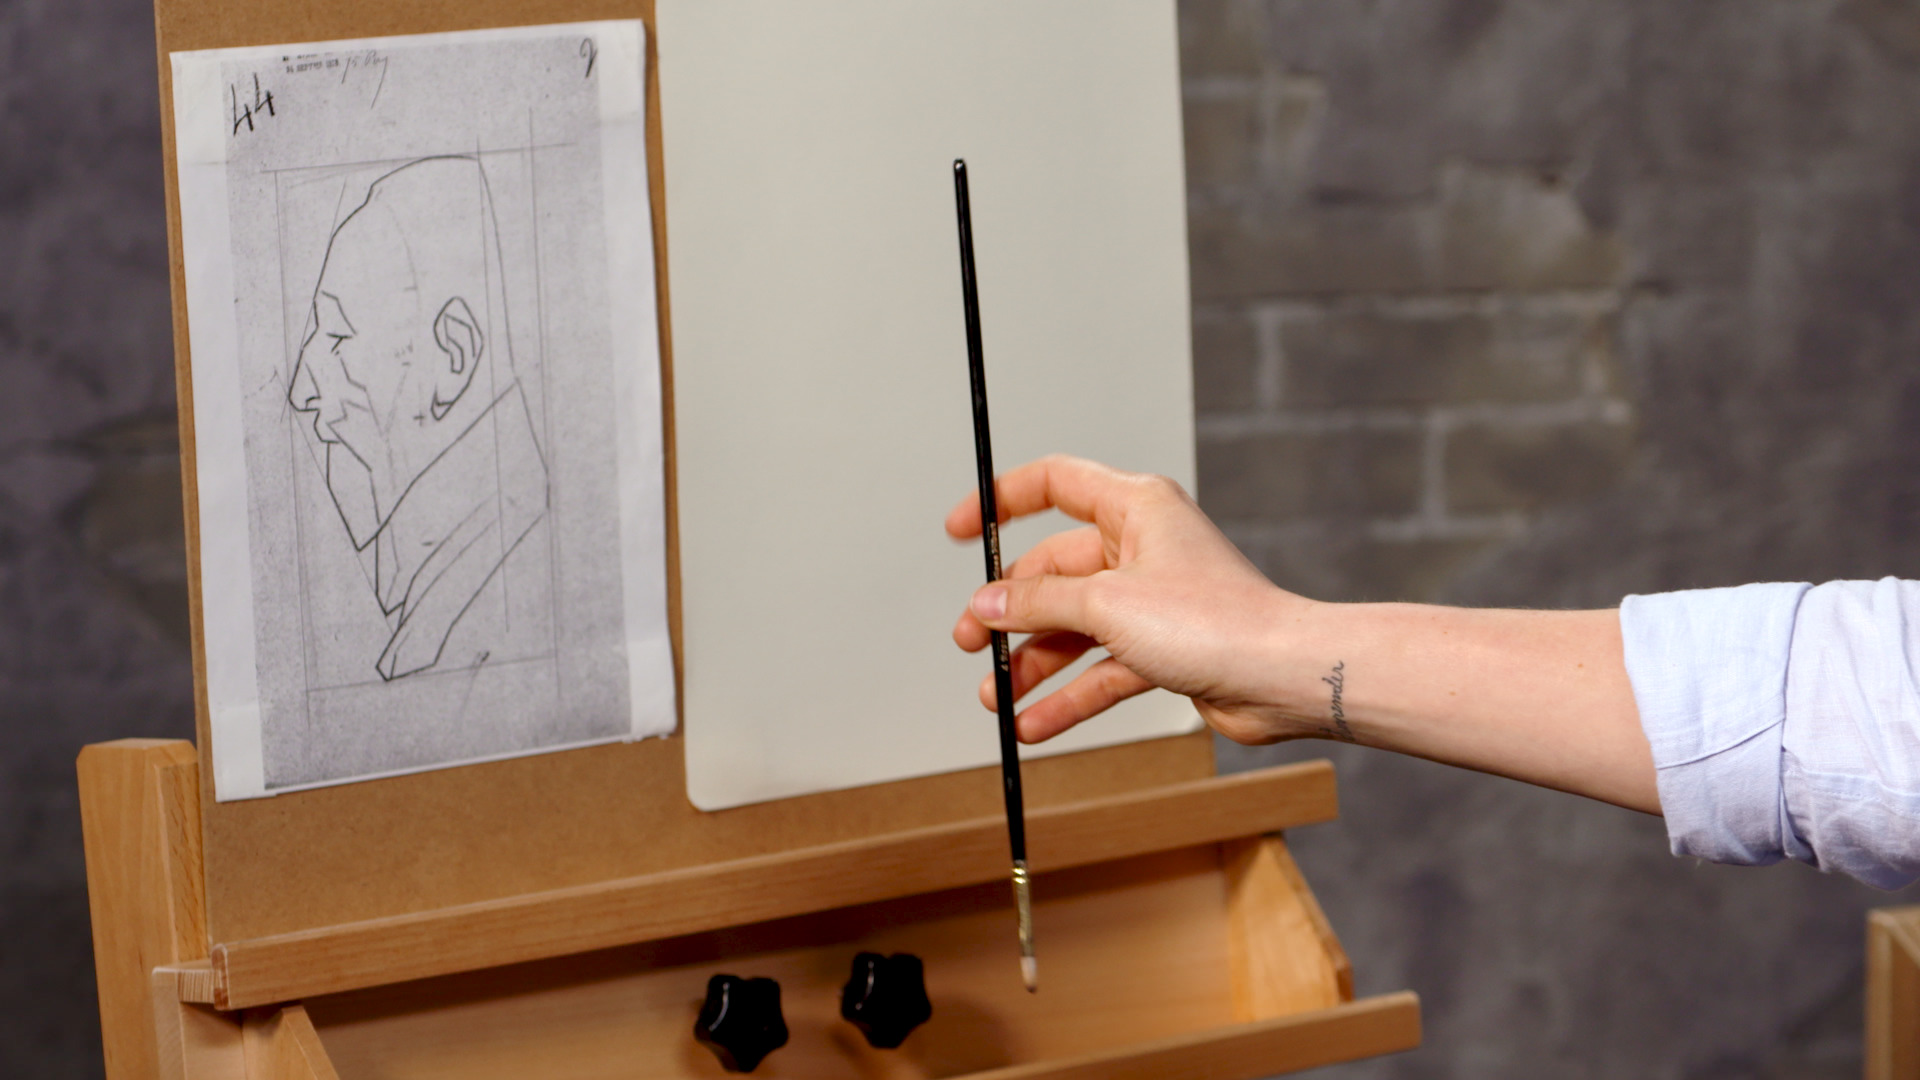
Accurately capturing the original source material in the initial sketch is paramount for many artists. A simple measuring tool can help do that, says artist Mackenzie Swenson. You don’t need a ruler, the measuring done here is about translating what your eye sees onto paper, using a straight tool to keep everything in scale and balance. Mackenzie likes to use a long, thin paintbrush but advises that anything can be used: from a pointy knitting needle or cooking skewer to a bike spoke. As long as it is thin, straight, and at least 12 inches long. Bent or warped tools will cause measurements to be inaccurate.
Whether you’re measuring for angle — like the angle of a nose on a face; for dimension — how long something is in the reference photo; or for scale — transferring something lifesize onto the paper in front of you — it is essential to record accurate measurements. Mackenzie holds her paintbrush between her fingers, with her middle finger underneath the tool and her ring and pointer fingers on top. She then extends her pinky to help stabilize the tool, which leaves her thumb available to move up and down the paintbrush’s shaft to take the actual measurement.
Once the tool is securely in her hand, Mackenzie works on her body posture to ensure accuracy. When taking measurements of a real-life scene, Mackenzie holds the tool perfectly plumb, tilting it neither towards nor away from the canvas or paper. Doing so would either shorten or lengthen the measurement she was intending to take. Mackenzie also makes sure to set firm her arms and body, moving only her shoulder left or right to take measurements. When she’s using the measuring tool directly on a reference photo, Mackenzie lays the tool flush to the paper, making sure her fingers are not between the paper and the tool. Doing so would compromise the accuracy of the measurement.