
Binding a Quilt with Minky Fabric
Kelly Hanson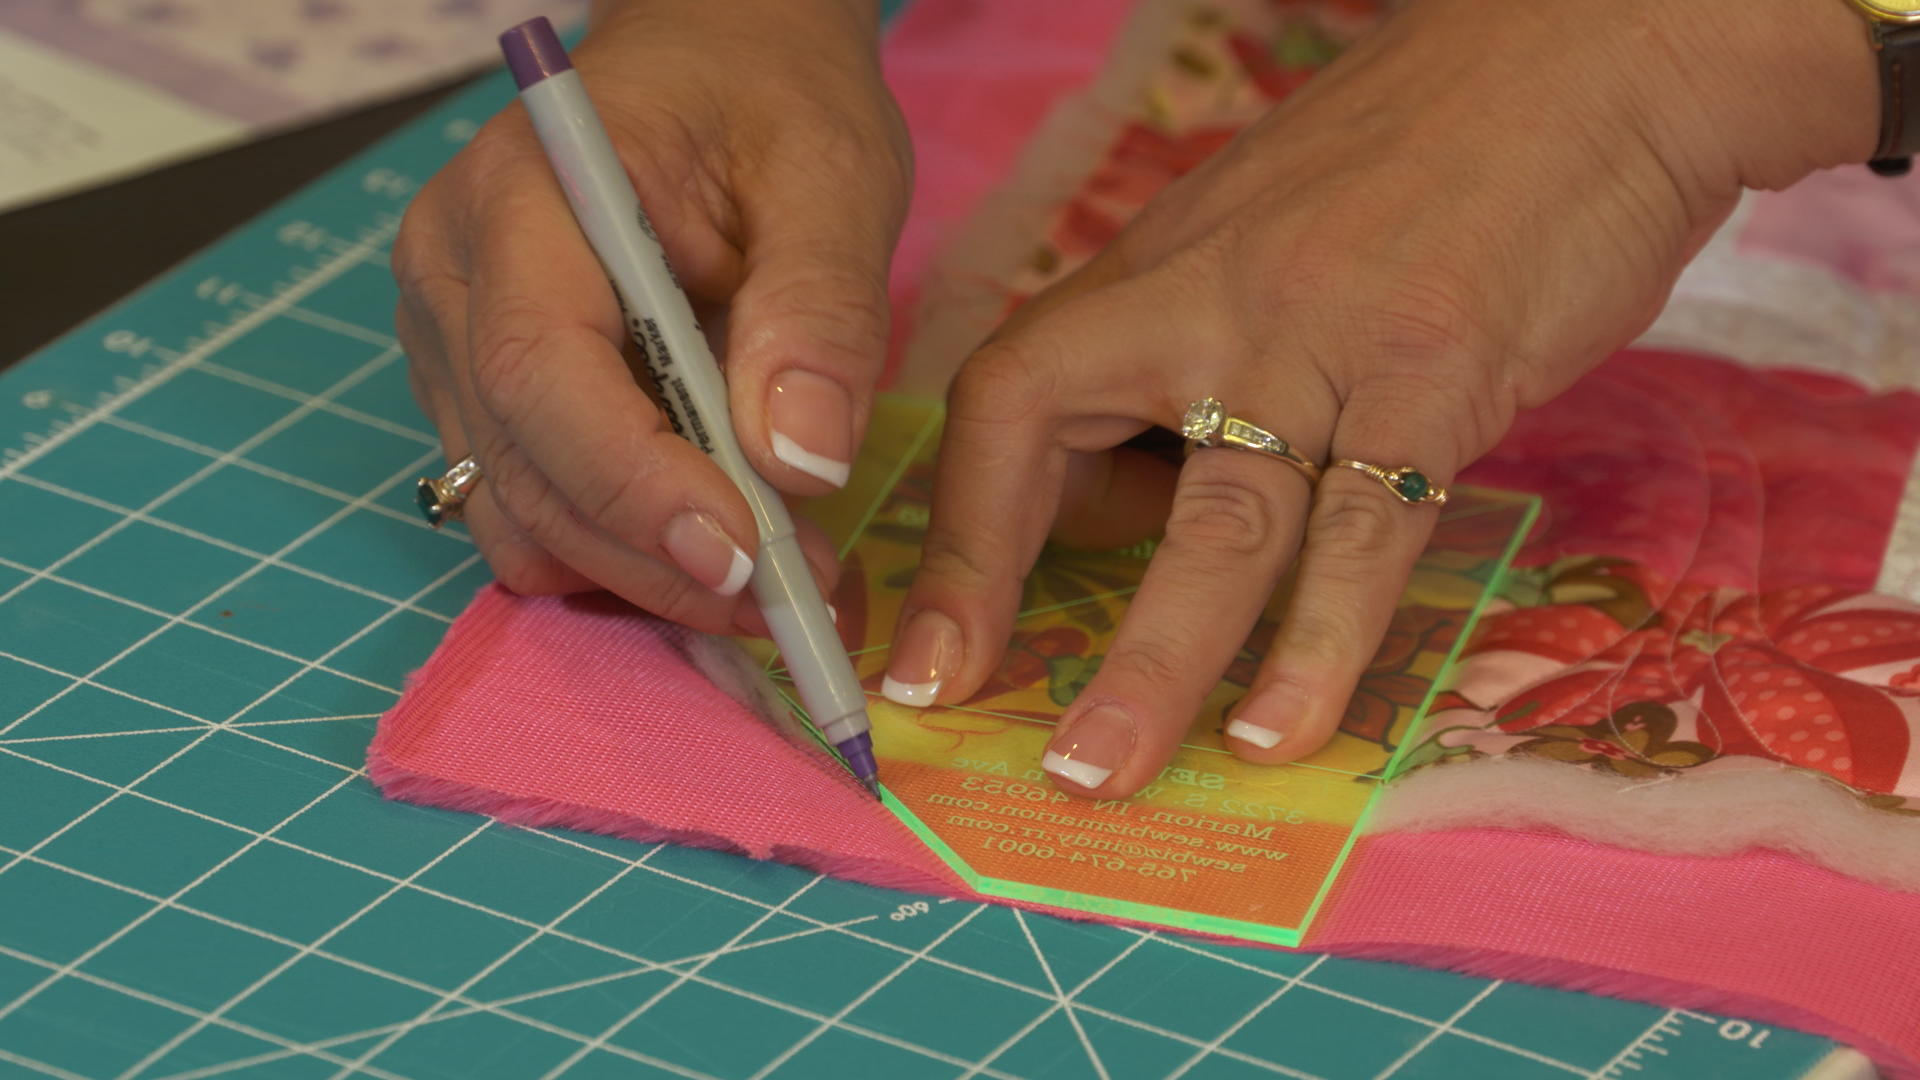
Learn a quick and easy way to bind a quilt with minky. Kelly Hanson shows you what tools you can use that make mitered corners easier and gives you tips for working with minky.
Minky
Minky is a popular fabric to use on quilts because of its soft and fuzzy feel. However, working with minky can sometimes be difficult because it sheds when cut and has a tendency to not lay flat when being worked with. Kelly shares several great tips on how to make working with minky easier, including tips on how to eliminate a lot of the fabric shedding.
Binding
When most quilters first learn how to bind a quilt they are taught how to make a binding separately that is then attached to the quilt. For this tutorial, Kelly shows how to bind a quilt with minky that is not only used for the binding but for the backing as well. Kelly starts with a small quilt that has already been quilted and the backing minky fabric has been left larger than the quilt top. She then shows how to use an easy mitered corner tool to determine where to trim, sew and cut the mitered corner. Where you line the ruler up along your quilt border or outer edge will determine how thick your binding is. When binding a quilt with minky, you will want to have a thicker binding than you would with a cotton binding because of the extra bulk.
After the corner has been stitched and trimmed, Kelly shows how to complete the mitered corner by simply folding the minky towards the wrong side. For this step, Kelly uses a product called Steam a Seam 2 that helps hold the binding edge in place. She demonstrates how to use it and then gives ideas on how to finalize the binding with either hand stitching, machine stitching or even decorative stitching.