Create Rich Black Tones in Lightroom
David JohnstonYou capture a beautiful landscape image, and it looks great on your camera’s LCD screen. Yet, when you study the file in the editing suite, it is missing a certain dynamic quality. The black tones are not deep or dramatic enough. In this video lesson, Outdoor Photography Guide’s pro photographer David Johnston takes you through the process of bringing out dynamic black tones for your images in Lightroom.
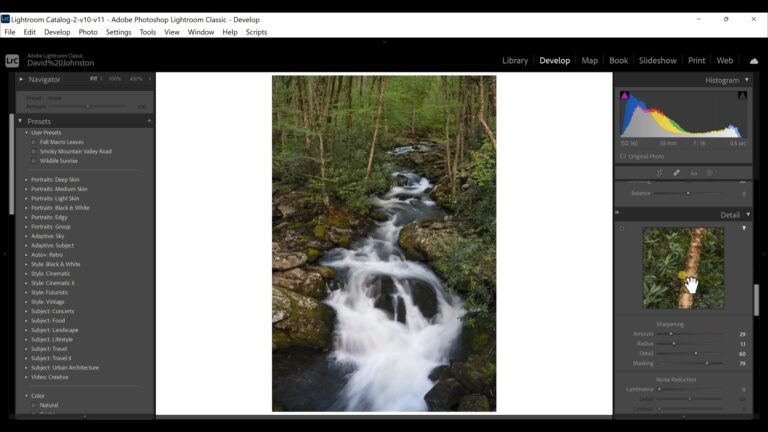
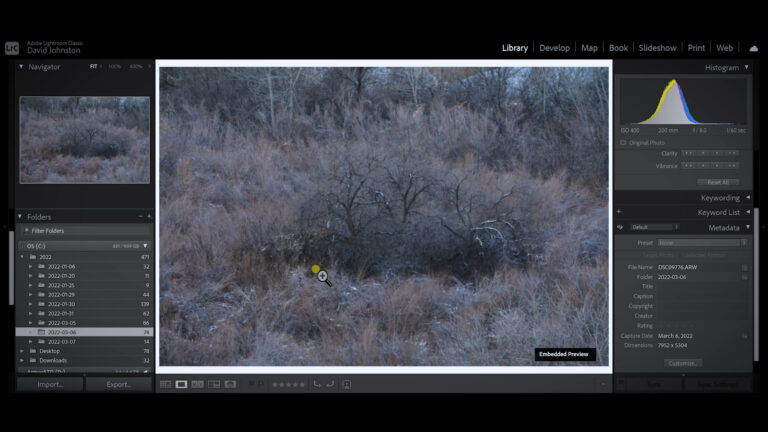
David edits an image he captured in Death Valley National Park, the Death Valley mountain ridge in the background and a long flat stretch of mud caked playa as foreground. His first step is to analyze the histogram. To enhance the black tones, he lowers the exposure and increases the contrast, then heightens the highlights and whites, and reduces the shadows and blacks.
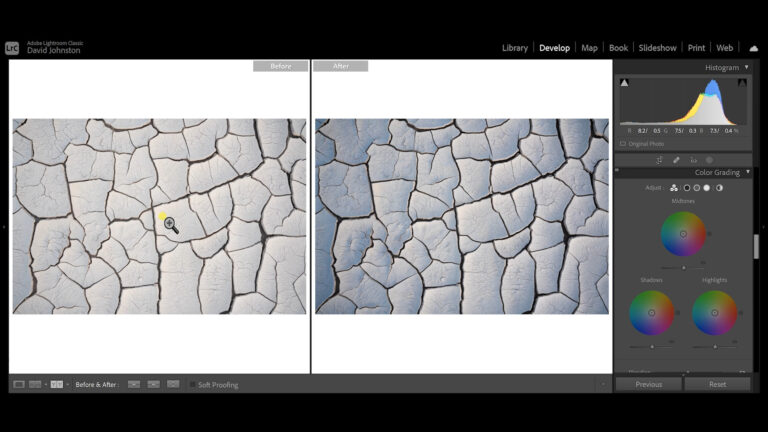
Meanwhile, he keeps an eye on the histogram to maintain visual equilibrium. The black tones of the mud cracks are now filled with detail. To add further drama to the sunrise sky, he increases the clarity, vibrance and saturation.
To deepen the black lines of the mud cracks, David creates a mask and uses the brush tool to paint deeper black into the cracks. By also selecting auto mask, Lightroom distinguishes between the black in the cracks and the parallel highlights. This all takes patience and can be a tedious process, but when you are working on a photo you love, you want to add those black tones to create the subtlest of detail.
Despite all the work and patience, David believes this Lightroom editing method takes your photo to the next level. It’s the difference between a good photo and a great photo.