MT
Easy Ribbing: How to Work Knit One, Purl One (K1, P1) Ribbing
Mary Beth Temple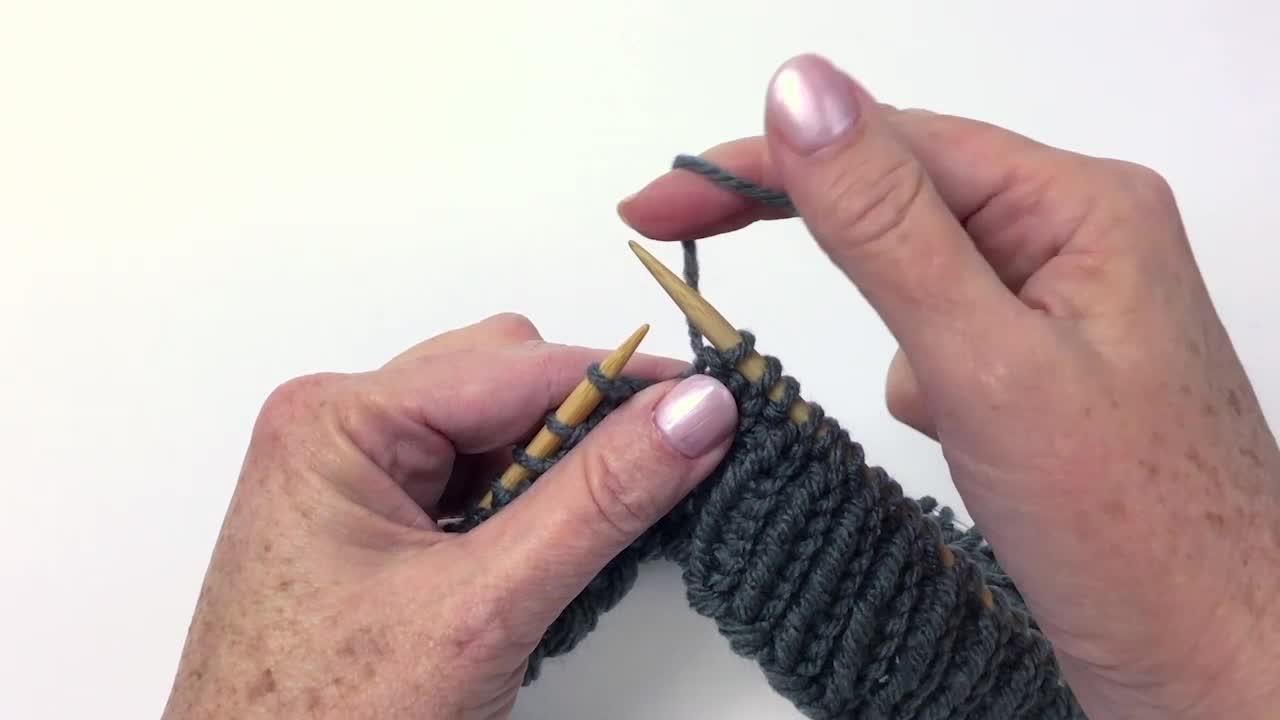
Once you’ve mastered the knit and purl stitches, you’re ready to try ribbing. In this video, Mary Beth Temple will demonstrate how to work knit one, purl one (K1, P1) ribbing. She’ll also share some tips on how to read your fabric and how to avoid mistakes while working on this stitch. You’ll find ribbing used on the edges of many different projects, like the neckline of a sweater or a cuff of a sock.
When working this easy ribbing pattern, it’s important to remember to bring the yarn in between the needles when alternating between knit stitches and purl stitches. Work the ribbing using these simple steps:
- Knit 1 stitch.
- Move yarn in between the needles to the front of the work.
- Purl 1 stitch.
- Move yarn in between the needles to the back of the work.
K1, P1 Ribbing Worked Flat
To work this stitch pattern, you can have either an even or odd number of stitches on your knitting needle. If you have an even number of stitches, the 1x1 ribbing pattern is super simple because every row, whether you are on the right side or the wrong side of your work, is the same.
All rows: (K1, P1) to end.
If you have an odd number of stitches on the needle, you’ll work as follows:
Row 1 (RS): (K1, P1) to the last stitch, K1.
Row 2 (WS): (P1, K1) to the last stitch, P1.
Repeat Rows 1 and 2 to desired length.
K1, P1 Ribbing Worked in the Round
To work this stitch pattern in the round, you’ll need an even number of stitches on your knitting needle. Then work as follows:
Round 1: (K1, P1) to end.
Repeat Round 1 to desired length.
No matter the number of stitches on your knitting needle, or whether you are working flat or in the round, just remember to knit the knits and purl the purls. Once you have this common 1x1 ribbing stitch mastered, you’ll be able to explore a wide variety of other types of ribbing.
Abbreviations
K: Knit
P: Purl
RS: Right side
WS: Wrong side