How to Make a Slip Knot
Mary Beth Temple
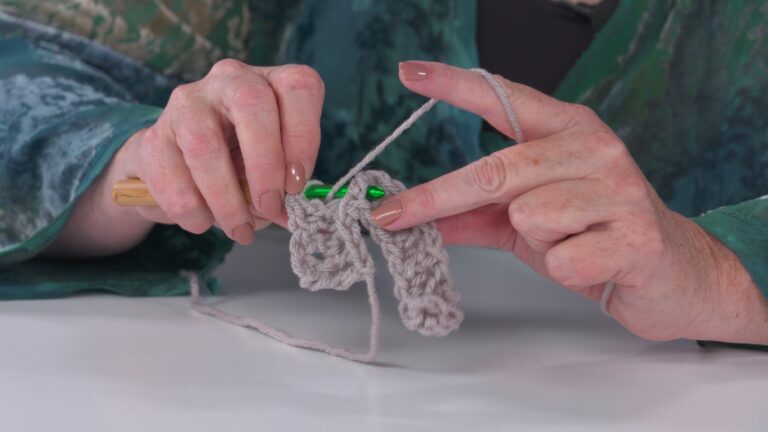
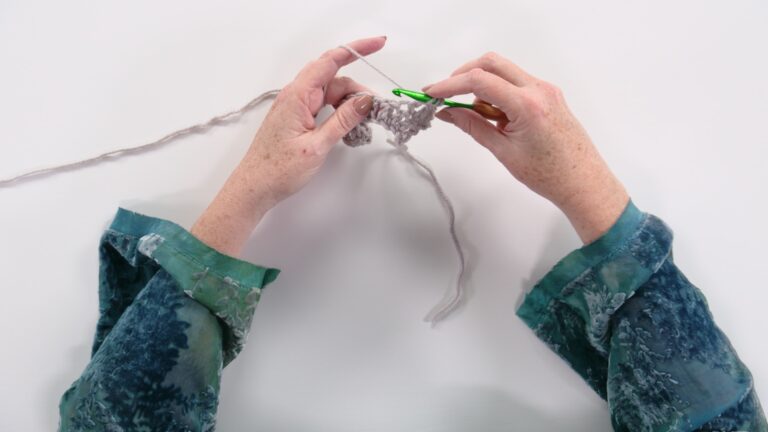
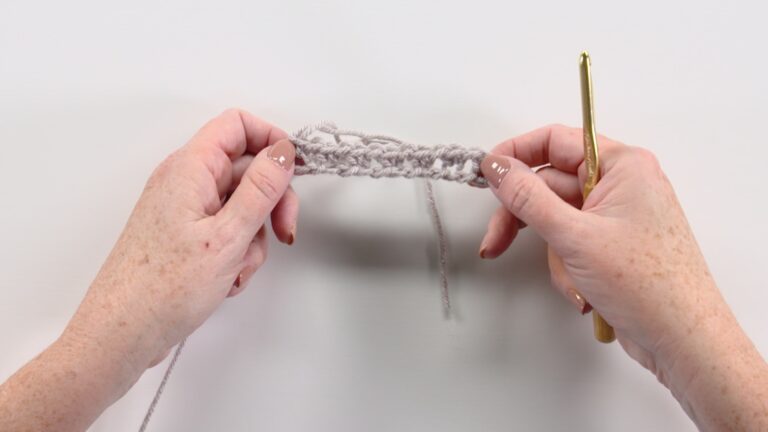
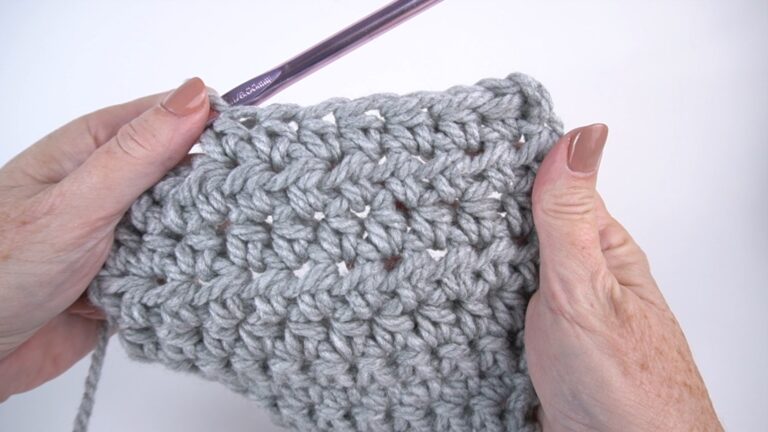
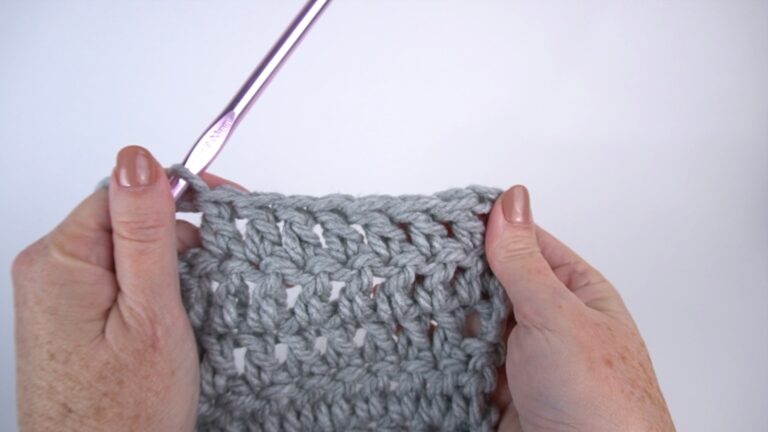
Making a slip knot is the first step to starting most crochet projects. The slip knot is created and then the rest of the stitches are created (typically chain stitches) and you’re ready to begin crocheting. In this video, Mary Beth Temple demonstrates how to create a simple slip knot.
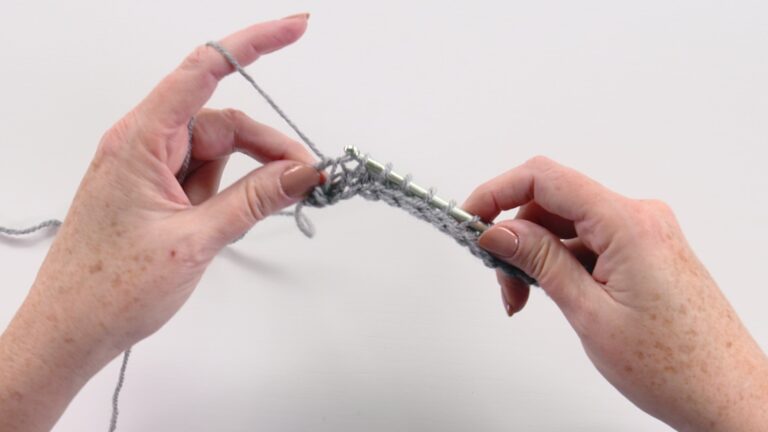
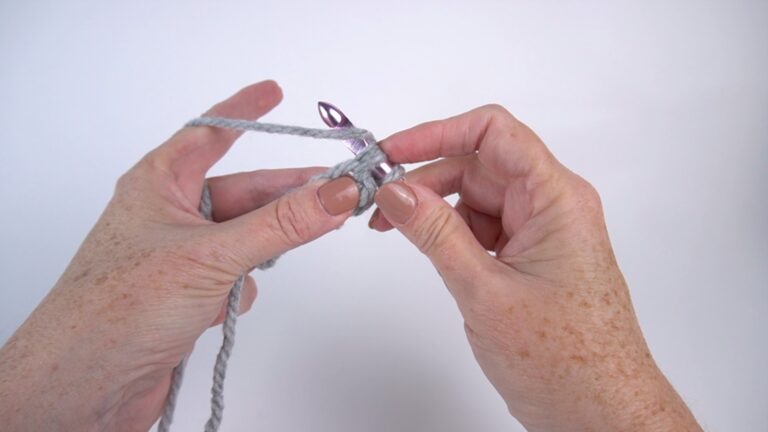
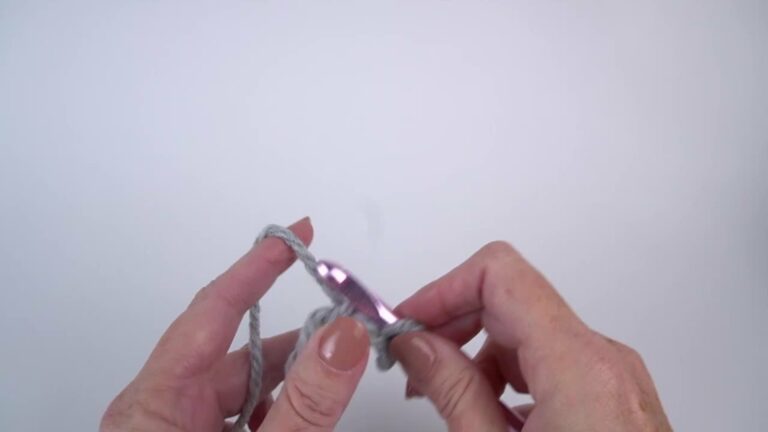
To begin, Mary Beth leaves a tail of yarn of approximately four to six inches to weave in when the project is complete. She makes a horseshoe, or upside-down U-shape with the yarn. The working yarn (the yarn going to the ball of yarn) is on the left and the tail (the cut tail that is 4 to 6 inches in length) is to the right. The yarn is twisted to form a loop.
Once the loop is formed, Mary Beth inserts her thumb and forefinger into the loop from back to front and grabs the working yarn. The working yarn is pulled through the loop, and then Mary Beth tugs gently on the yarn tail to make a snug knot. The loop is then placed on the crochet hook.
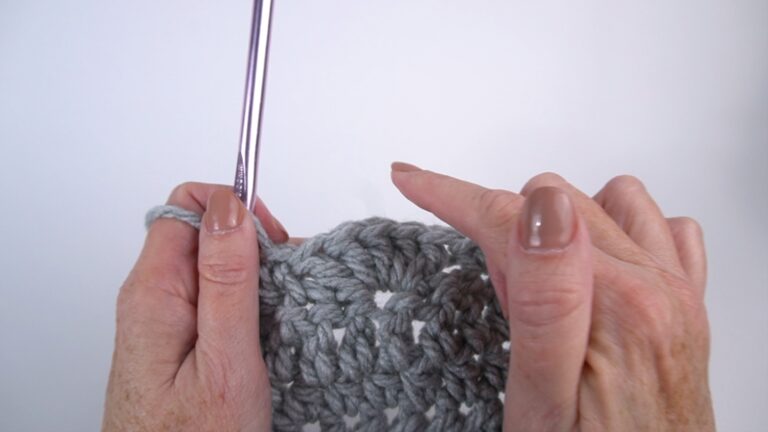
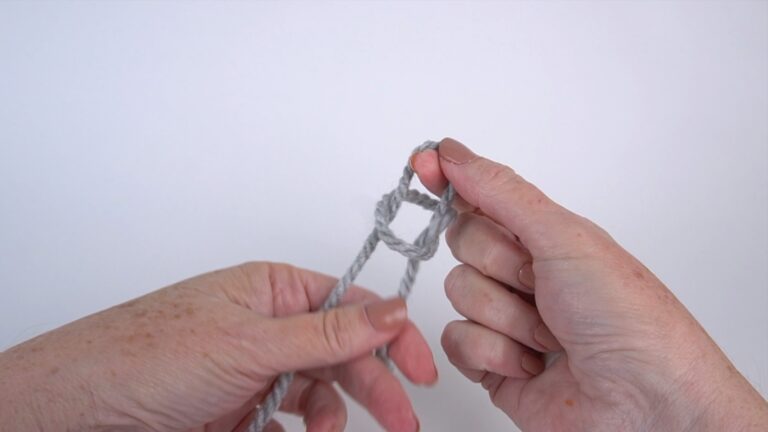
With the loop on the hook, both the working yarn and the yarn tail are tugged on gently to tighten the slip knot. Mary Beth makes sure that the slip knot is on the fattest part of the crochet hook (between the throat and the thumb grip) to ensure that the next stitch can be easily worked.