Using Bias Tape for a Professional Finish
Stacy Grissom
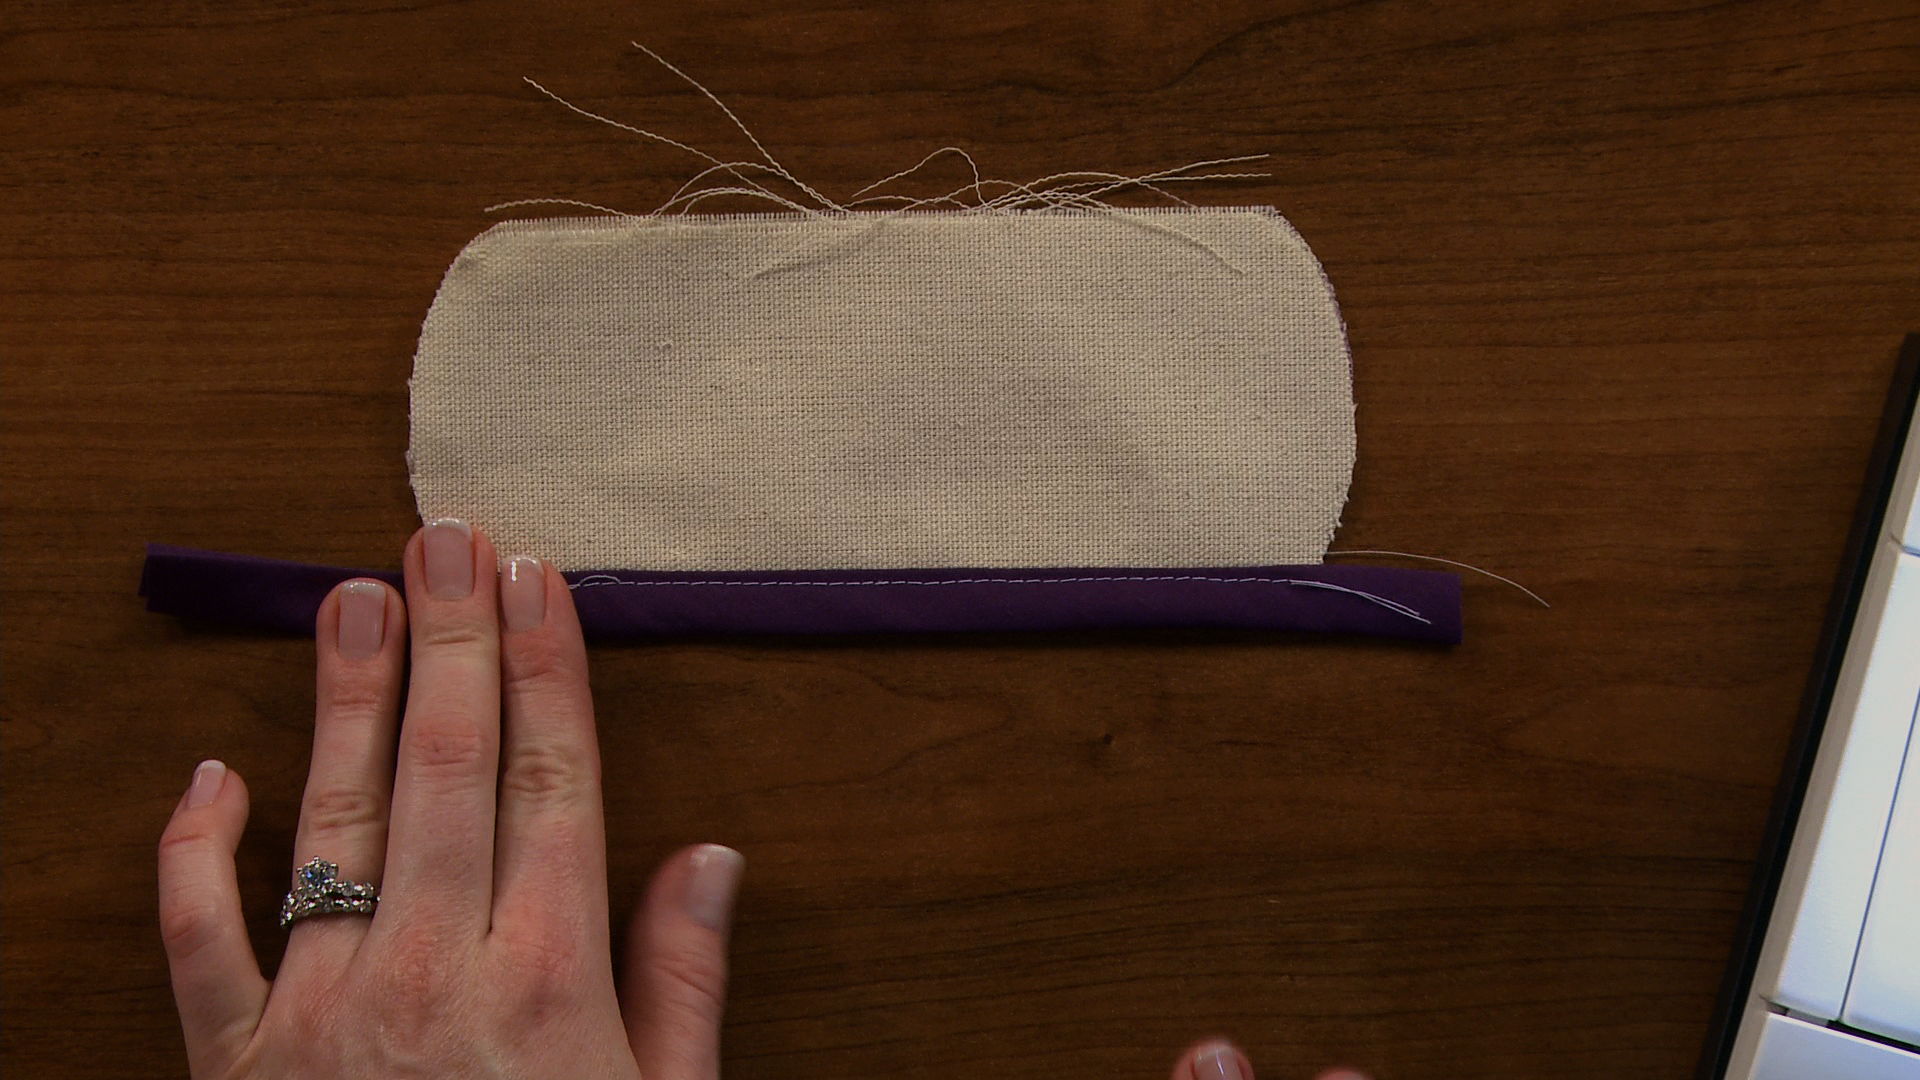
Using bias tape is a great way to finish off the edge of a project on anything from clothes to quilts. However it can be easy to miss an edge of the tape while stitching because it is a narrow strip of fabric and you can’t see both sides while stitching. Stacy Grissom shows you a great technique to use to ensure that both side of the bias tape are secured to the fabric every time.
Double Fold Bias Tape
Another tip to help ensure both sides are caught in the stitching when using bias tape, whether using the technique shown in this video or another method, is to first look at the bias tape and determine which way it should be placed on the fabric. One side of the bias tape will be slightly longer than the other. Place the longer side of the bias tape on the wrong side, or under side of your fabric before stitching. This will give you a slightly wider margin of error for catching the other side of the bias tape in the seam. Most commercial double fold bias tapes will already be made this way, and it might also be something you want to do if you make your own bias tape.
Single Fold Bias Tape
The method shown in this video for bias tape with a double fold is similar to using bias tape with a single fold. The only difference is that there isn’t a fold in the bias tape to stitch along, and a narrow seam allowance from the edge is needed instead. Single fold bias tape is narrower that double fold once attached to your project and has a more subtle look.
Professional Finish
The technique Stacy uses for attaching the bias tape to a project can also be combined with some hand stitching for a very professional finish. Stitch the first side of the bias tape to the project as shown in the video, then fold the tape over the project edge, pin in place and hand stitch using a blind stitch so the threads are not seen. This is a technique used when binding quilts that can also give a nice finished look to other projects as well.