CNC: Leveling an End Grain Cutting Board
George Vondriska
People love end grain cutting boards. They’re exceptionally beautiful, and because they’re end grain not long grain, they’re very durable and last a long time. However, the same features that make an end grain cutting board durable also make them difficult to level after the final glue-up. A planer might seem like a good solution for this problem, but you shouldn’t run end grain cutting boards through a planer. A CNC router provides a great solution for this problem.
Set up the cut
Using CAD/CAM software like VCarve Pro, create a Pocket Toolpath. Use a light depth of cut, 1/16” works well. In the software, create a rectangle that’s slightly larger than your cutting board. Be sure to ramp the toolpath — 4" works great, so the bit eases into the work.
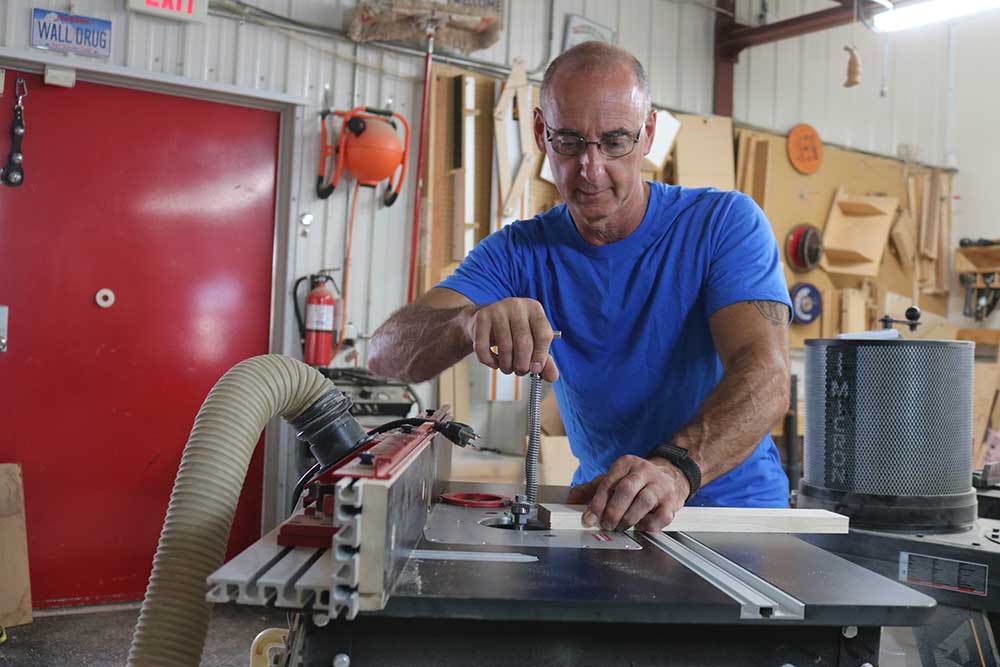
Secure the board
The entire cutting board surface will be milled, so you can’t use hold-down clamps directly on the board. Instead use hold-down clamps to secure scrap to your spoilboard, then slide wedges between the scrap and the cutting board to lock it in place. Make sure this arrangement is below the surface of the cutting board so it doesn’t interfere with leveling.
The bit
Any flat-bottomed router bit can be used for this but, like fly cutting your spoilboard, it’ll go faster with a large diameter bit like the cutter used in the video.
Multiple passes
Run the toolpath and see what you get. If, after running the toolpath once, the surface is still irregular, simply rezero the Z axis (don’t change the X and Y origin) and run the toolpath again. Rinse and repeat until the surface is cleaned up. Flip the board over, rezero the Z and do the same thing to the other side.