
How to Easily Remove Serger Stitches
ZJ Humbach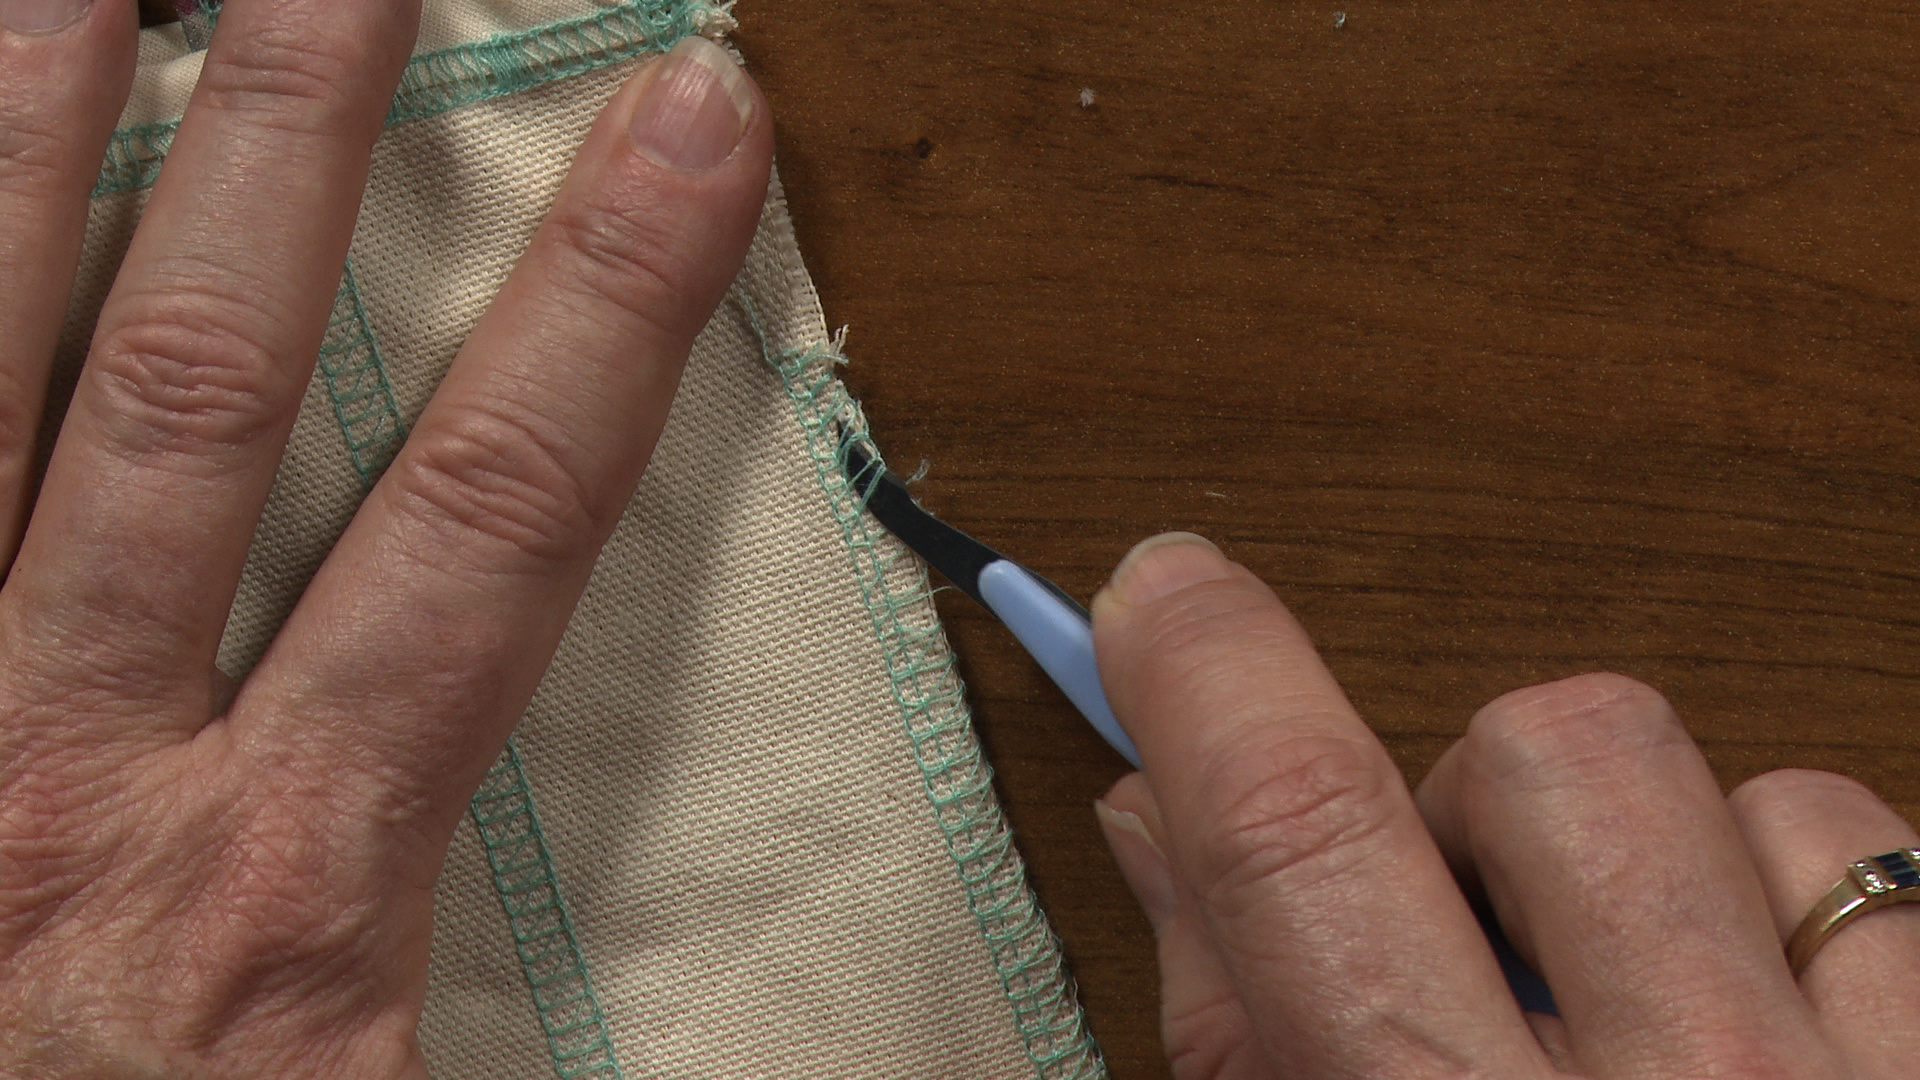
Whether you’re new to using a serger or you’re a seasoned professional, there will probably come a time when you need to rip out serger stitches. In this video, ZJ Humbach shows you several ways you can remove serger stitches with ease. She takes you through several tools that can be used for the process, as well as what side of the work to start ripping stiches out of first, and what thread to pull that makes everything easily unravel.
Removing serger stitches, as well as stitches made using a conventional machine, should be done carefully if you intend to re-stich or reuse the fabric. If you have used a high quality thread, it is usually possible to clip a couple threads at one end on the fabric's wrong side, and then pull the thread out in one long piece on the fabric's right side. However, doing this can bunch up the fabric and create larger holes in the fabric where the thread is being removed. These holes could then possibly still be visible even after the fabric is re-stitched. To protect the fabric, clip threads every few inches along the fabric wrong side and remove the stitching in sections. This process will take a bit longer, but can result in a cleaner finished project.