
Correcting Sewing Machine Tension for Free Motion Quilting
Heather Thomas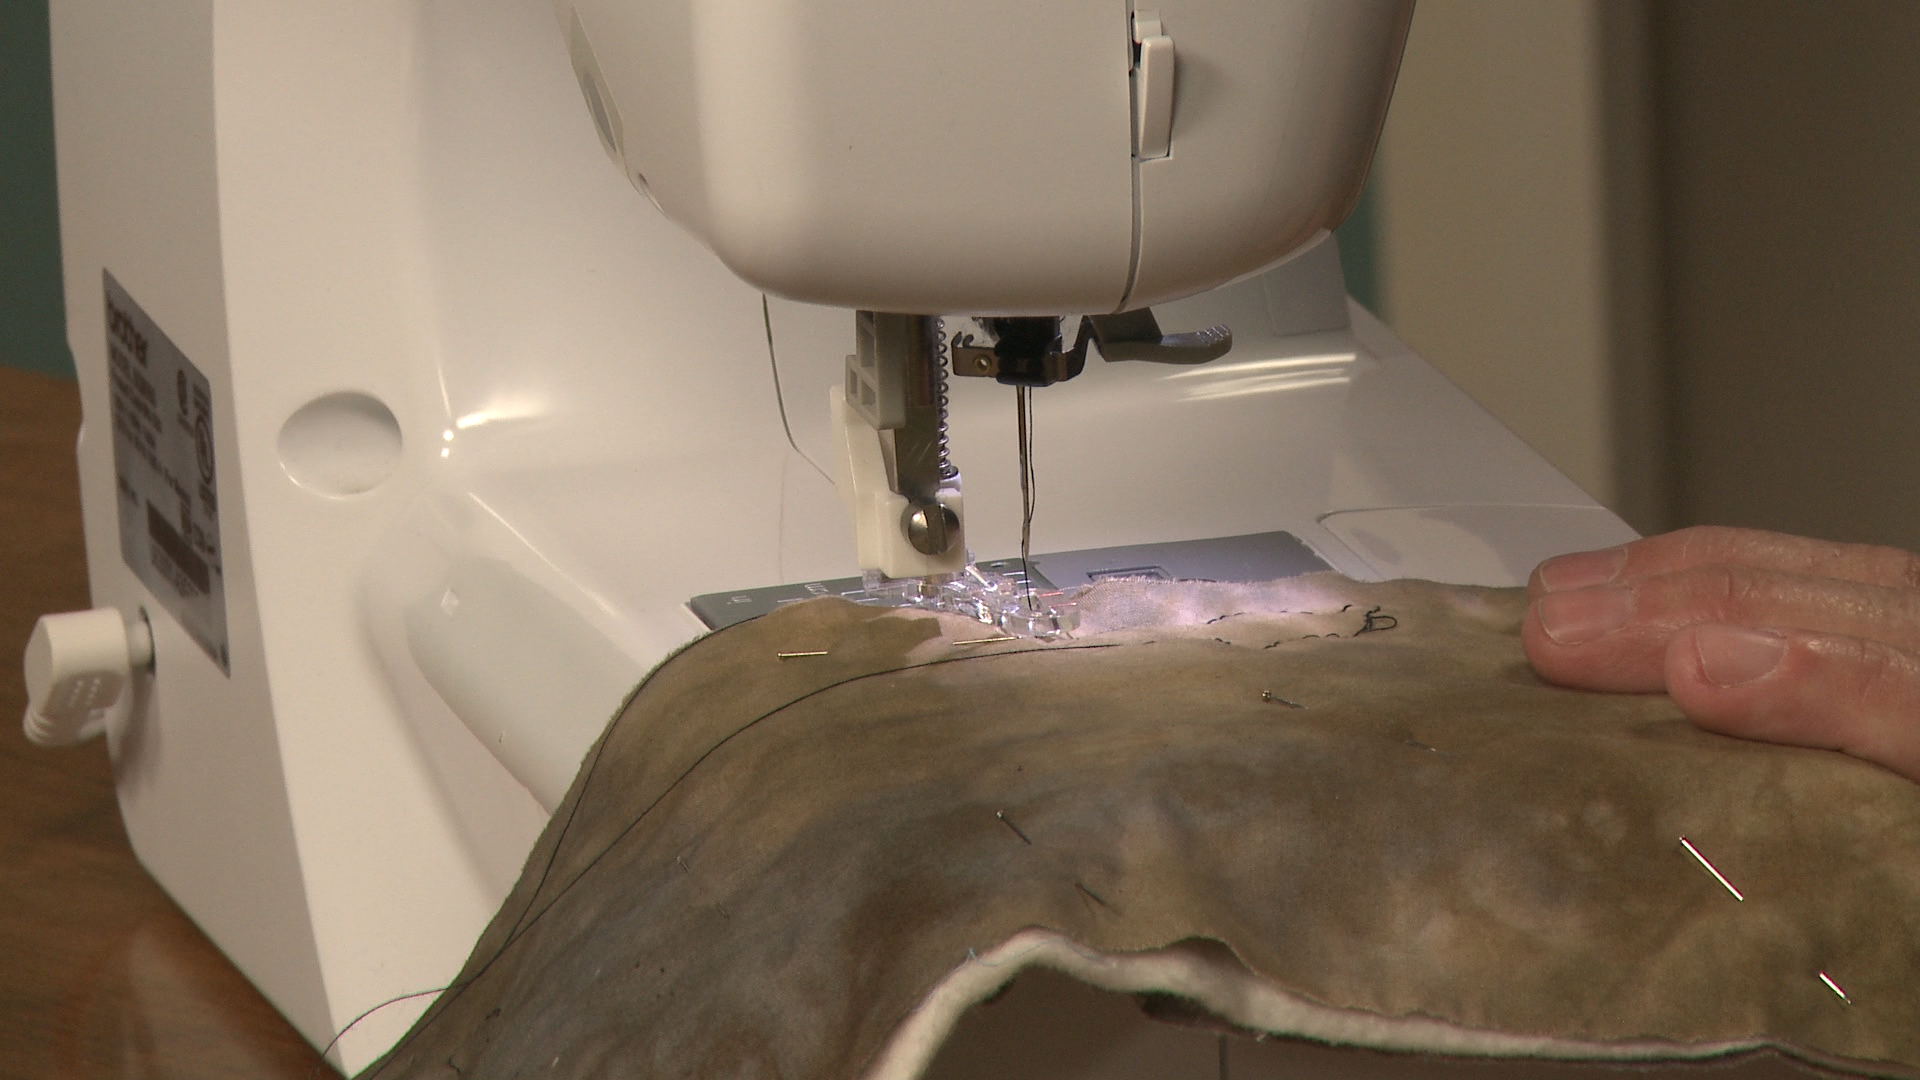
Sewing machine tension can be frustrating to deal with because it can determine how good or bad your stitching looks. While you may have your tension set correctly for piecing and sewing, you may find that you need to make adjustments when switching to free motion quilting. Heather Thomas shows you how to adjust your sewing machine tension for free motion quilting to achieve the best stitching possible.
Know Your Machine
Whether you are dealing with tension issues or are doing any other kind of sewing machine troubleshooting, it is important to know your machine. Sewing machines have tension on both the bobbin and needle thread. Most machines have some kind of dial located on the top of the machine that allows you to make adjustments to the needle tension. Heather explains that the needle tension dials will be labeled with numbers anywhere from zero to nine and will usually have what the manufacturer considers to be ‘normal’ tension marked in some way.
For the bobbin tension, machines will have either a front/side load bobbin or a drop-in bobbin. Front and side load bobbins can be adjusted by turning a small screw located on the side of the bobbin case. Drop-in bobbins don’t have the same kind of bobbin case and therefore you are generally limited to making changes to the needle tension to adjust your sewing machine tension.
Adjusting Sewing Machine Tension
Heather demonstrates what bad tension can look like when free motion quilting on a small sample. She explains what a common tension issue called 'eyelashing' is and shows what it can look like on both the right and wrong side of the fabric. She then explains how to fix the issue by adjusting the needle tension in small increments and test stitching after each change. She explains how important it is to make all changes to your sewing machine tension in small numbers and how and why those changes have to be made while the presser foot is in the up position.