Make a Scrappy Scarf With Stitched Fabric Scraps
Heather ThomasA scrappy scarf is not only a great way to use up small leftover pieces of fabric, but it makes for a great accessory too. Heather Thomas shows you how to make a scrappy scarf by stitching together layers of fabric bits sandwiched between stabilizer.
Fabric for a Scrappy Scarf
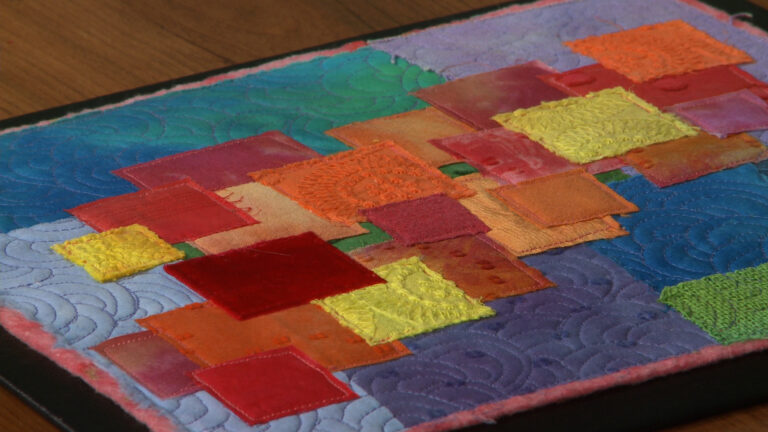
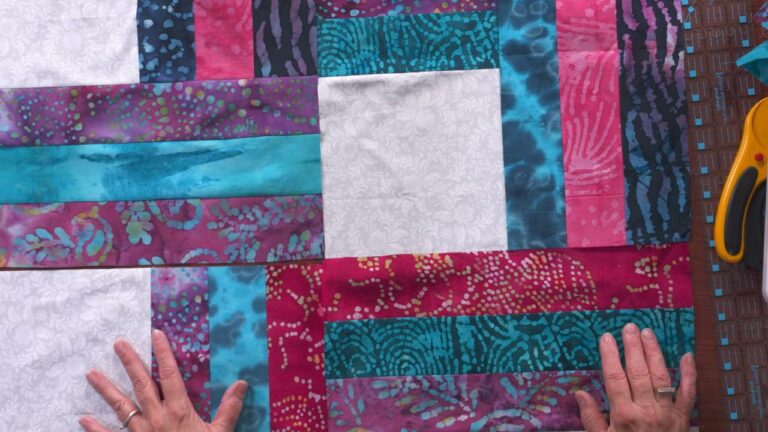
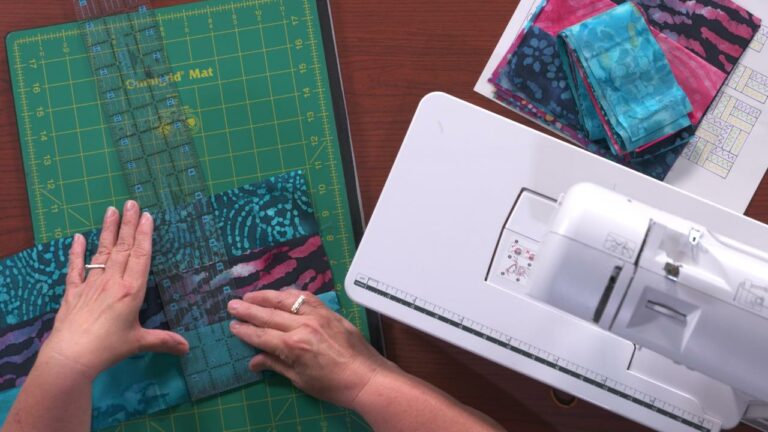
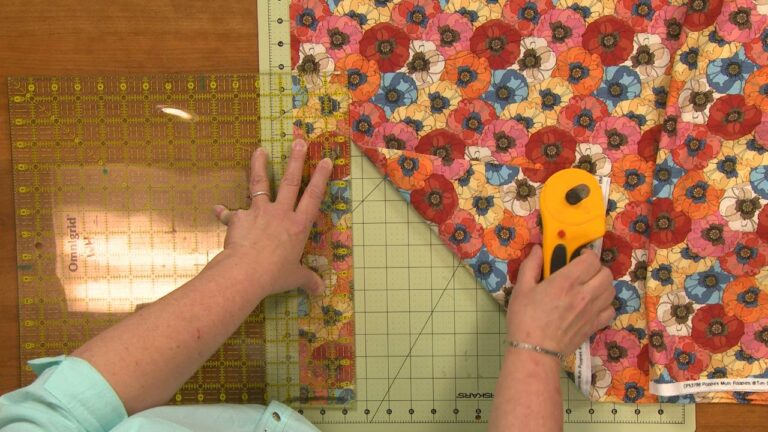
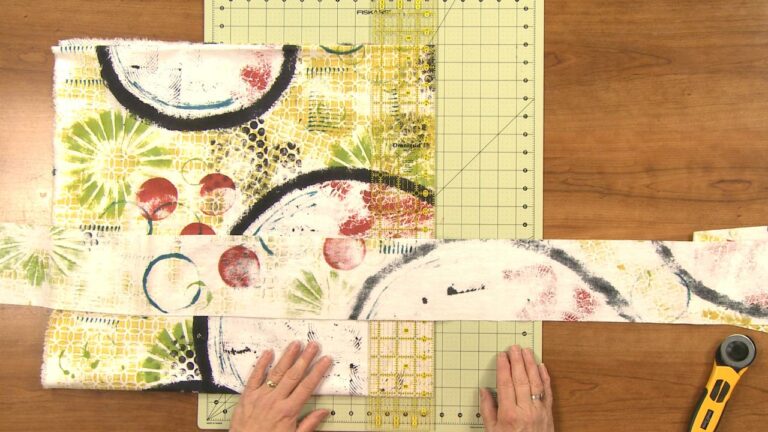
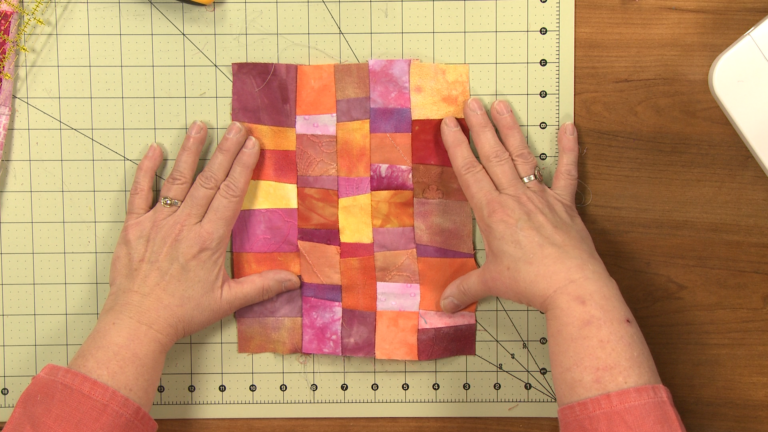
For this project Heather uses small squares and rectangles of fabric as well as long strips of fabric. She explains what types of fabric she likes to use when making a scrappy scarf and why some fabrics, like printed fabrics, are not the best choice. Heather also talks about the different colors she chooses to use in the scarf and how and why she adds contrasting colors. For a scarf like this one, there are many ways to use quilt scraps. Heather chooses two different sizes and shapes to cut her scraps, one for each side of the scarf so they look different, however you could choose to cut all of your scraps the same.
Using Stabilizer on a Scarf
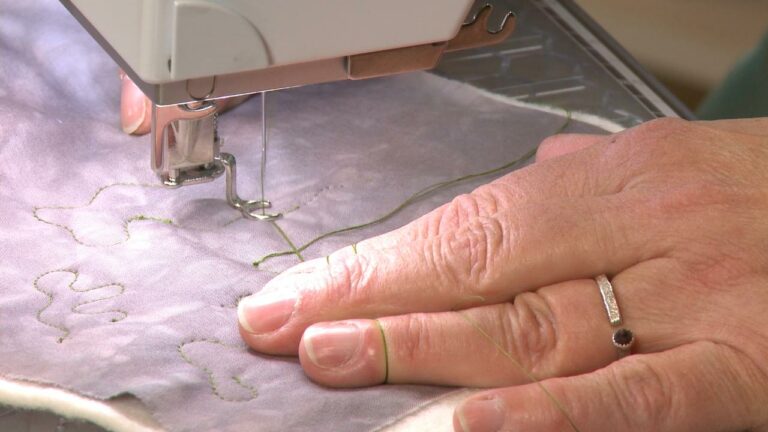
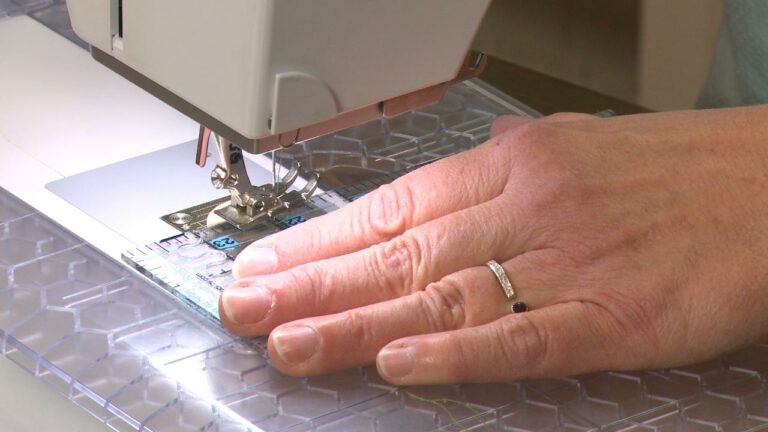
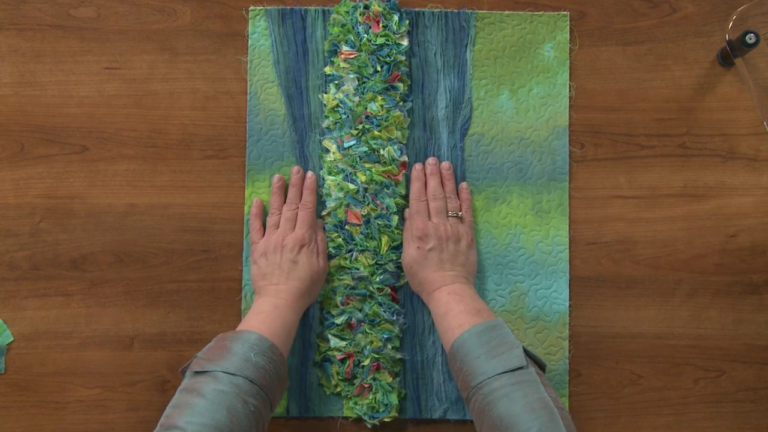
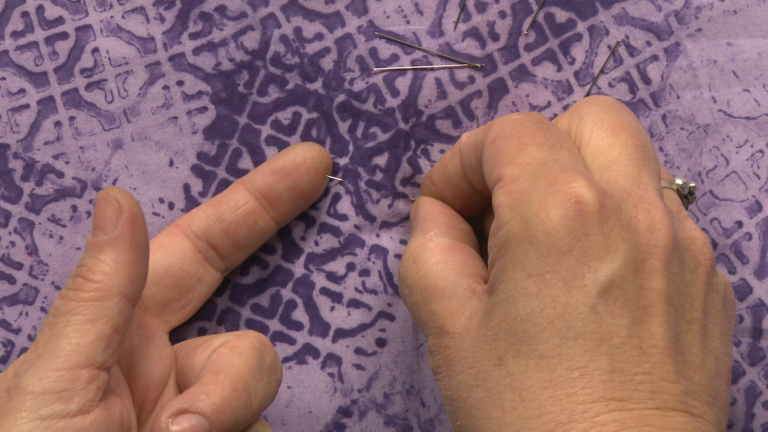
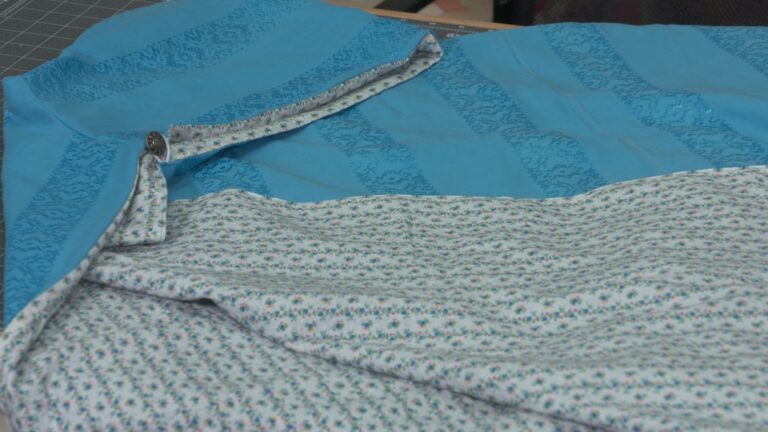
Once you have all of your fabric scraps cut and ready, Heather shows you how to begin layering your scarf. She starts with a layer of water soluble stabilizer. This is a type of stabilizer that is removed with either warm or hot water. Heather shows how she sprays a small amount of water on the stabilizer first to make it tacky and then begins layering her fabric. Once she has her fabric the way she likes she can then add another piece of stabilizer onto the top and stitch.
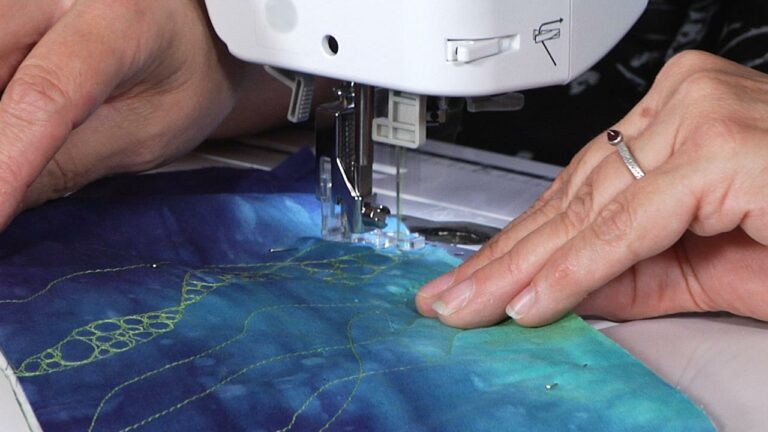
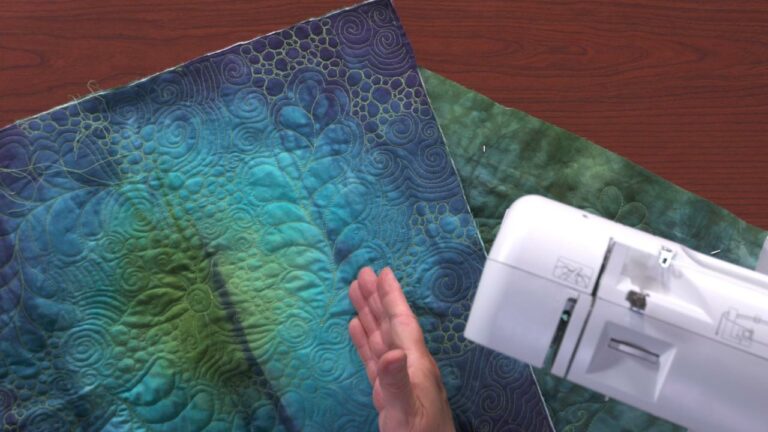
Quilt
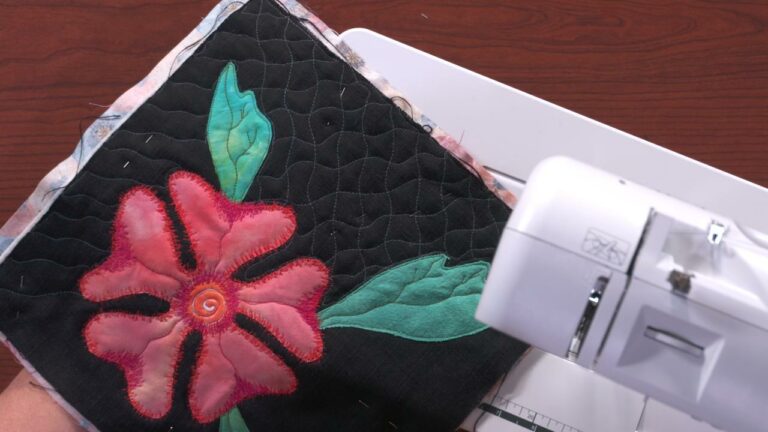
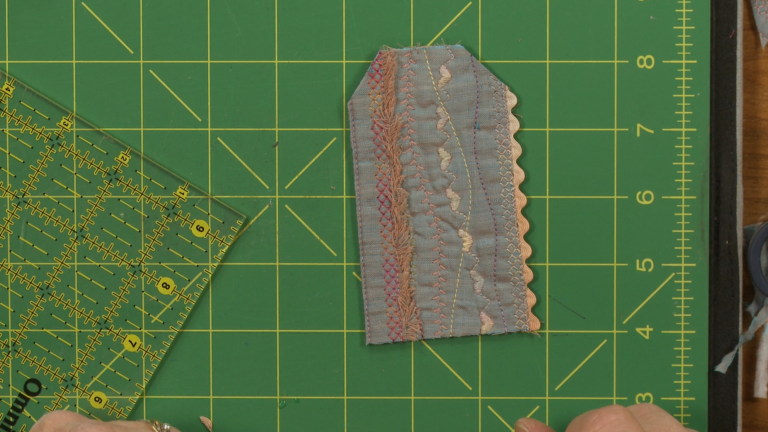
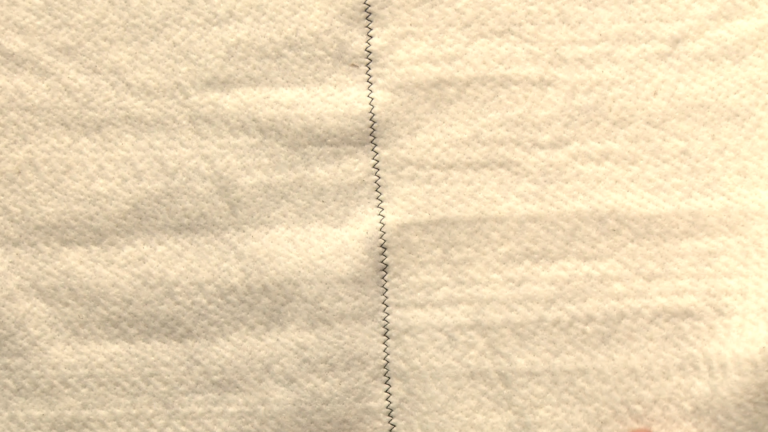
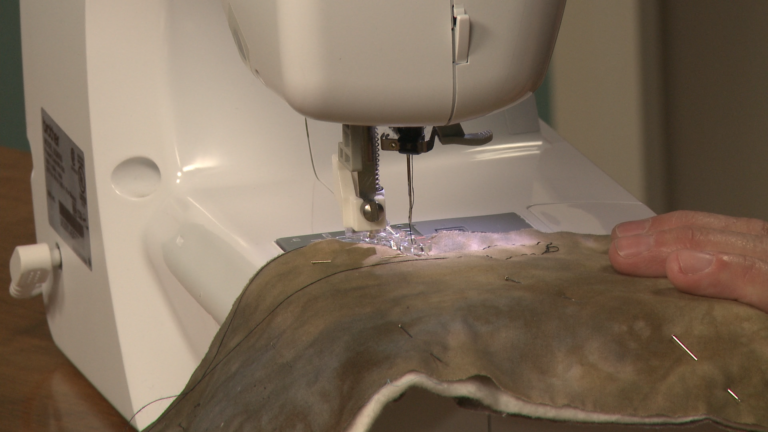
Since all of the stabilizer that is holding the scrappy scarf together is going to be dissolved, stitching is needed to keep the fabric layers together. Heather explains that there are many different types of stitching that can be done, from free motion quilting to stipple quilting. You could even do the stitching by hand and add sashiko stitching. Heather shares that her favorite way to quilt the scarf is with a grid and demonstrates some of the stitching.